This tutorial will show you how to set up your Raspberry Pi with info-beamer and a TV to use as digital signage for your shop, office, school… or anywhere really.
Digital signage is super useful. You may want to display advertisements in your shop window, timetables in your office, bulletins in school hallways – really, for anywhere you would hang a poster or noticeboard, a digital sign makes a cool replacement that is highly visible and can be easily updated.
Lets get to it.
Setting Up the Raspberry Pi Hardware
Here’s what you’ll need:
- A Raspberry Pi
- A TV with a HDMI port
- A keyboard and mouse for the setup process
- An internet connection
The hardware setup for this is easy – just plug your Raspberry Pi into the TV, and temporarily attach the keyboard and mouse to set things up.
Installing Digital Signage Software
info-beamer is top-notch (and free) digital signage software that will turn your Raspberry Pi into a digital billboard. The Raspberry Pi Imaging tool comes with support for installing info-beamer built-in, so it’s an obvious (and easy to install) choice.
To install it, follow the steps below:
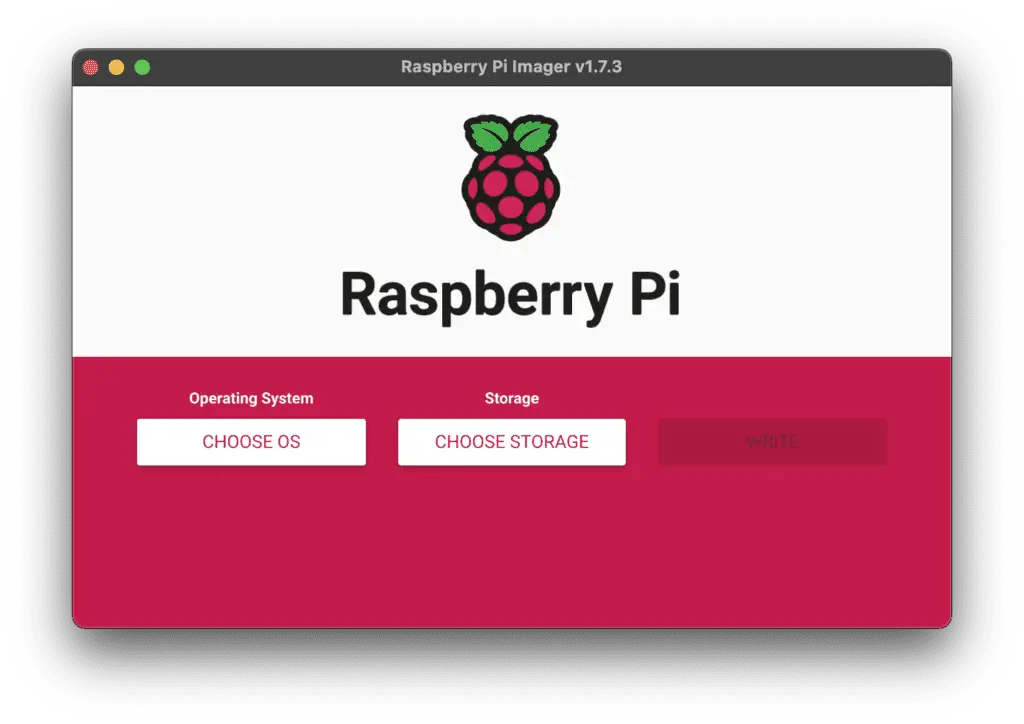
First, install and open the Raspberry Pi Imager. You can download it here.
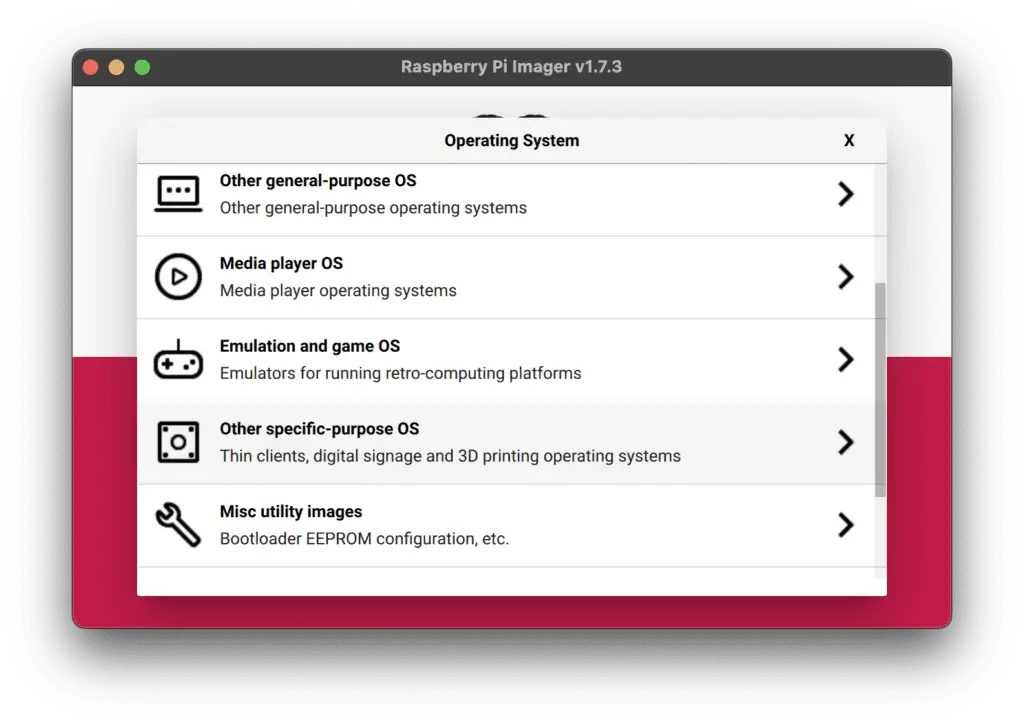
Select ‘Choose OS’ and then select ‘Other Specific-Purpose OS’.
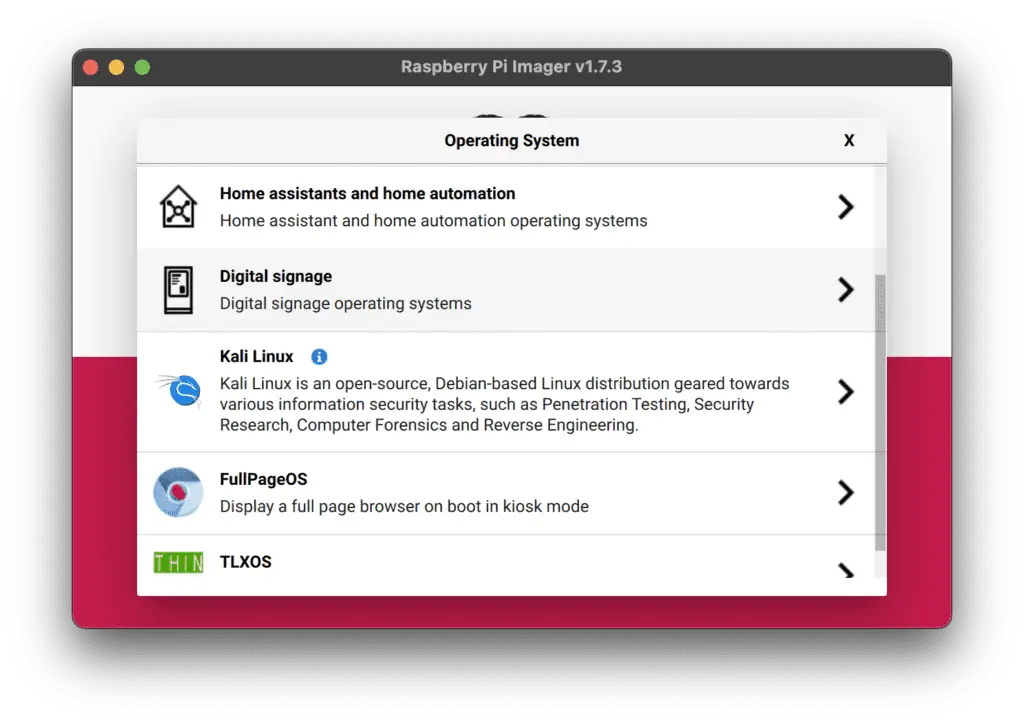
Next, scroll down and select ‘Digital signage’.
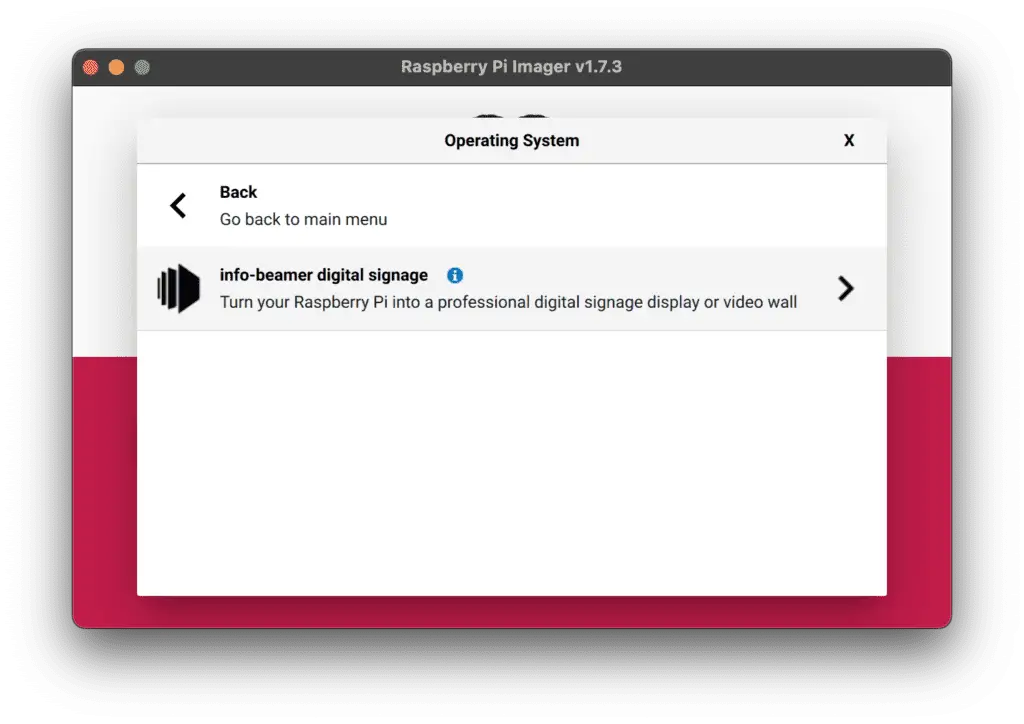
Select ‘info-beamer digital signage’ from the list (it’s not much of a list – that’s the only entry in it).
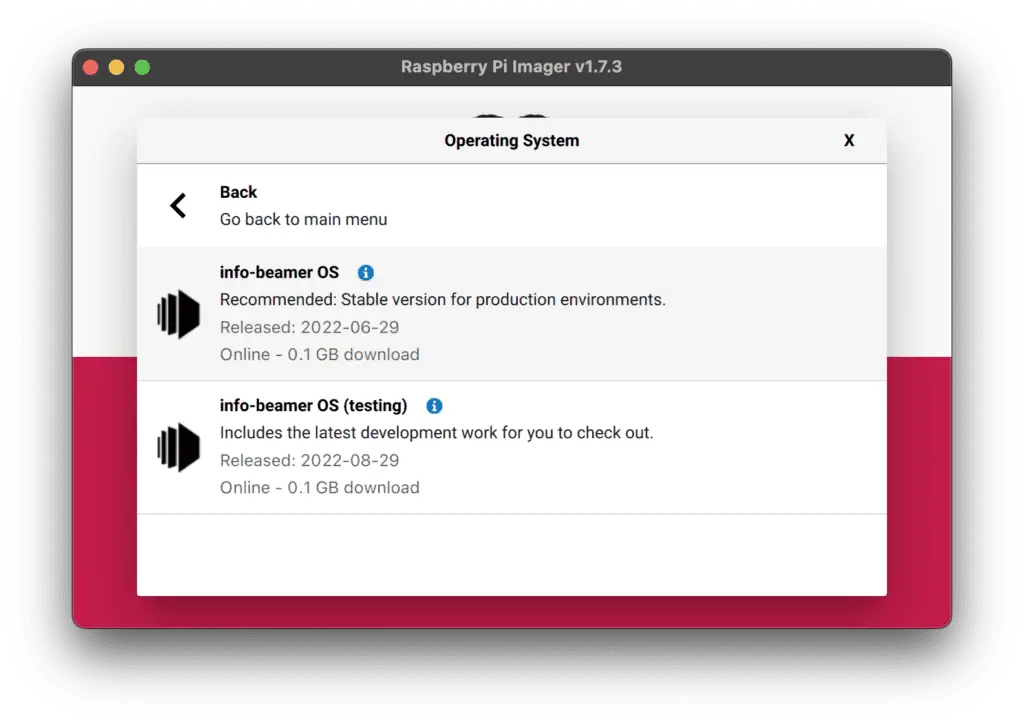
Then, select ‘info-bearmer OS’. You can select the testing version if you like, but it’s usually best to stick with the stable release if you’re planning on deploying your signage for actual use.
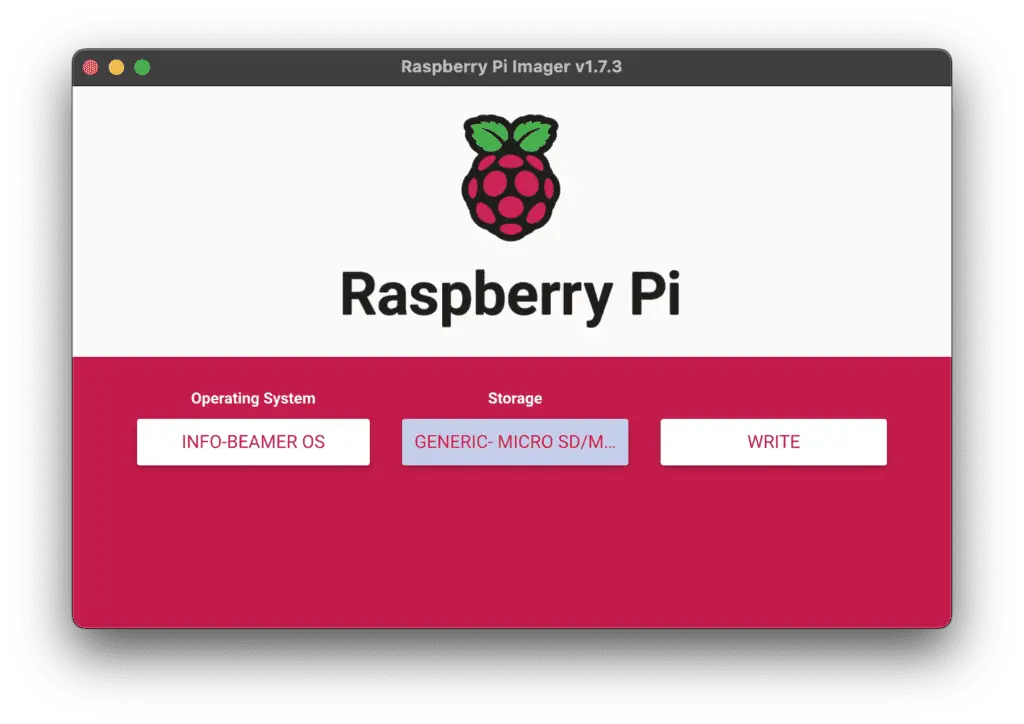
Insert your SD card then click on ‘Storage’, and select it from the list of devices.
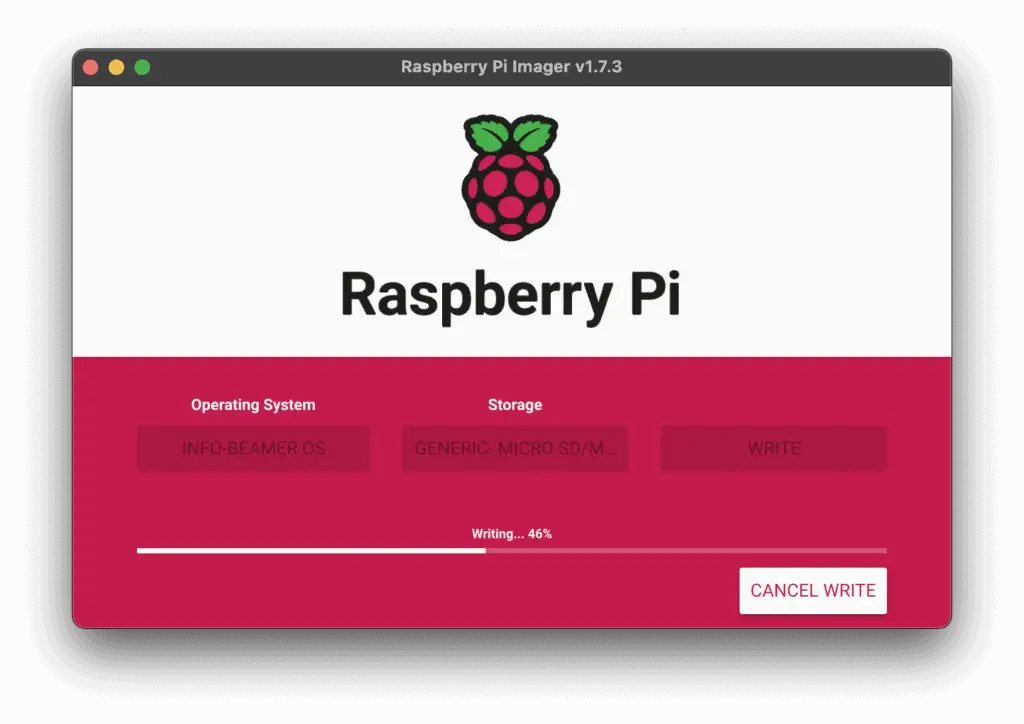
The final installation step is to click ‘Write’, then go make yourself a sandwich while the disk image is written. It could take a few minutes.
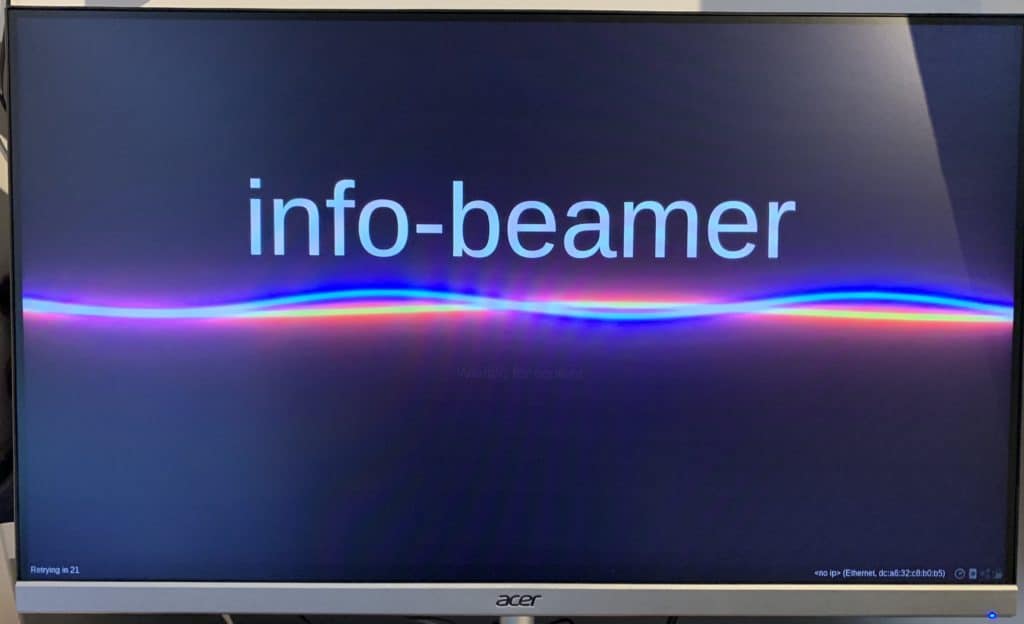
Insert your SD-Card back into the Pi and boot it up – info-beamer will come to life. It may take a few minutes to initialize, during which you’ll see the above screen.
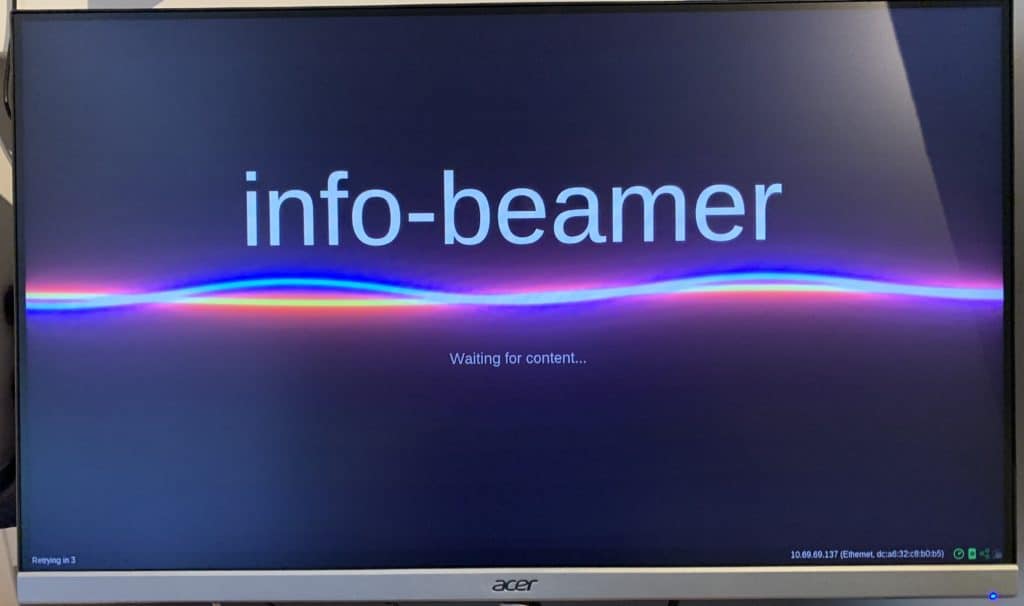
When info-beamer is ready, a ‘Waiting for content…’ message will be displayed – your signage is functionally ready, and just needs something to display.

Look in the bottom-right corner – you’ll see the IP address details for the device – this is useful when you need to connect to it via SSH.
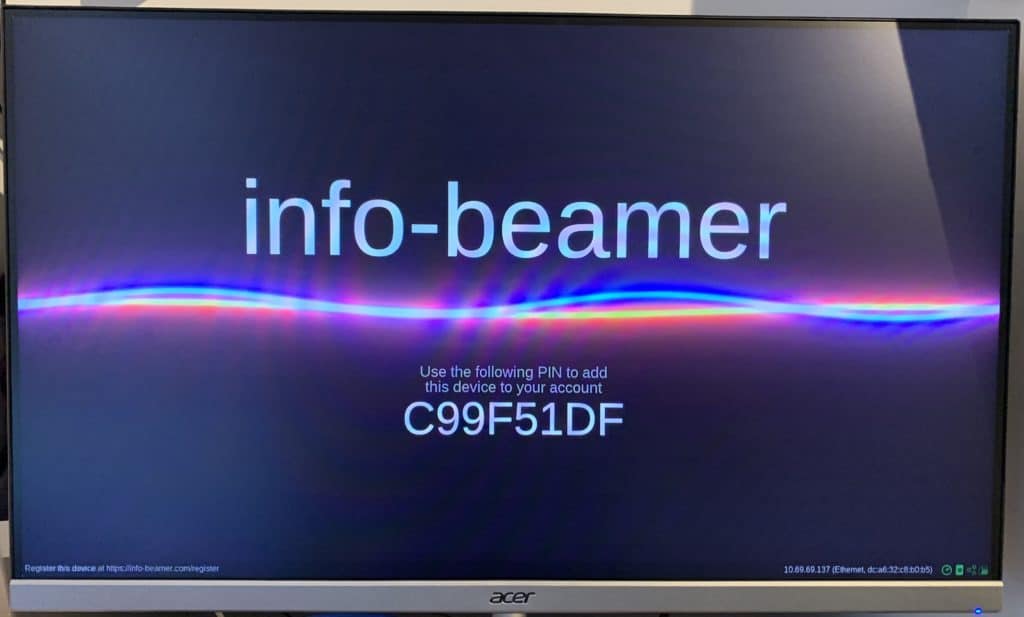
info-beamer requires an internet connection to function. Once it has established connectivity, a unique code will be displayed. At first, this doesn’t seem useful…

However, tucked away in the bottom-left corner of the screen is the next step – just visit https://oinfo-beamer.com/register, set up your account, and enter the unique code when prompted to gain remote control over your new digital signage system.
Using your Digital Signage
Once your device is registered you can use the info-beamer dashboard to manage the content on your Raspberry Pi powered digital signage, including images, live re-loaded webpages (perfect for kanban boards, live calendars, timetables, and notifications) and even video.
info-beamer allows for one free device per account. If you want to use more than one device and don’t want to pay their modes fees, why not set up a Kiosk instead and point it to your own web server, hosting your own signage content?

