Ads are annoying and they slow down your internet browsing experience. Here’s how to block them for your whole network using Pi-Hole and a Raspberry Pi Zero.
No-one likes ads. Ads interrupt videos. Ads crowd up web pages while you’re trying to read. Ads pop up at the worst moment.
There are probably ads competing for your attention while you try to read this right now.
Pi-Hole to the Rescue
Pi-Hole is an ad blocking solution that blocks ads for your whole network – including devices that don’t support ad-blocking browser add-ons like your gaming console or smart TV.
It does this by providing a custom DNS server. DNS servers tell your computer where to find resources on the internet. By providing a DNS server, Pi-Hole can block all requests for resources from advertisers before they even reach your device.
What You’ll Need
Here’s what you’ll need to get a Pi-Hole set up.
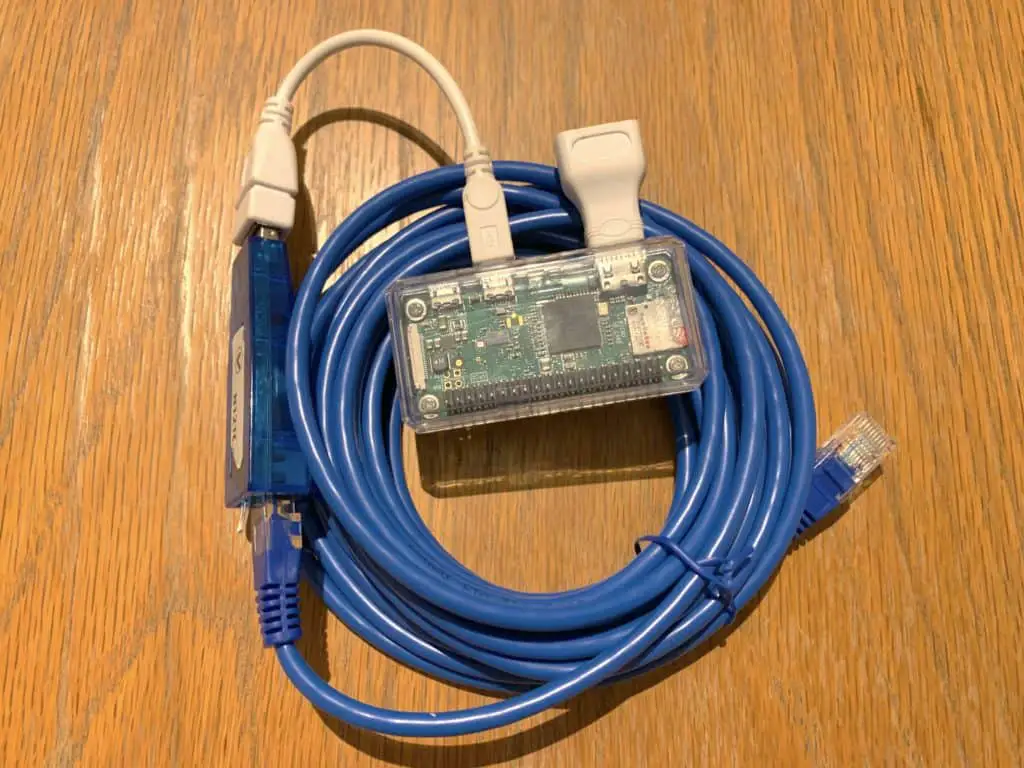
- A Raspberry Pi (I’m using a Raspberry Pi zero)
- SD Card
- USB Ethernet adapter (recommended if your Pi doesn’t have an Ethernet port)
- Keyboard/mouse/etc
Download and Install Pi-Hole
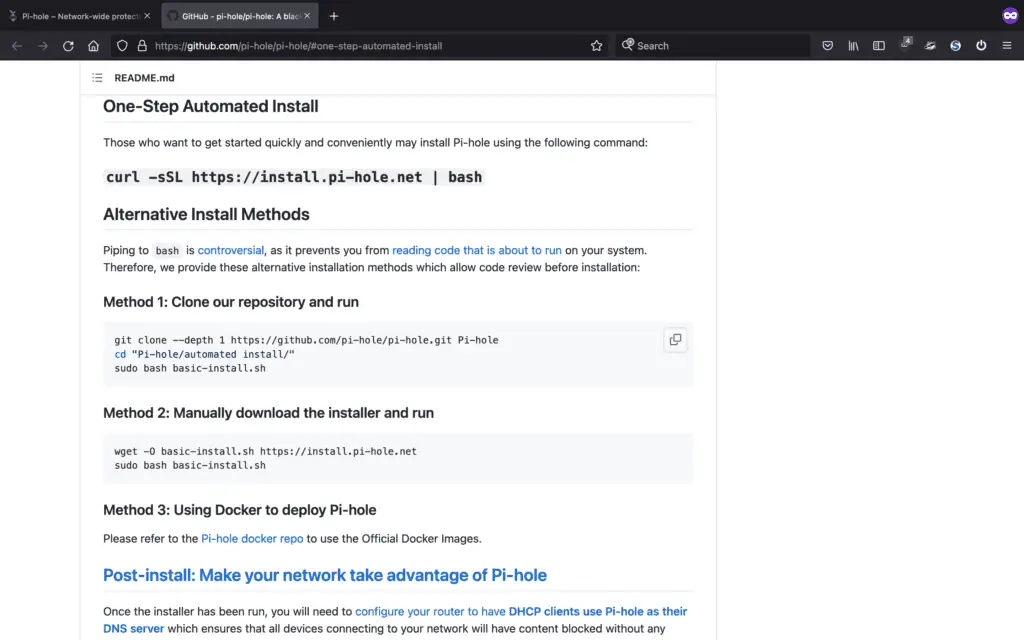
The installation instructions for P-Hole can be found at:

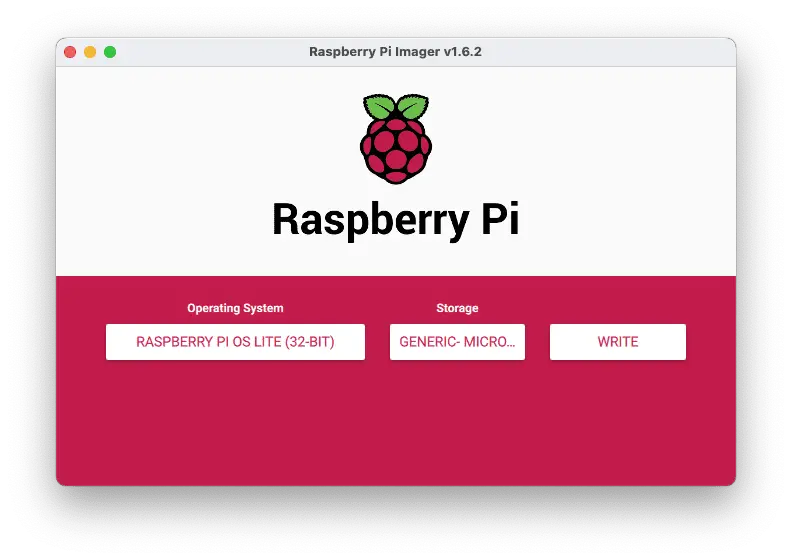
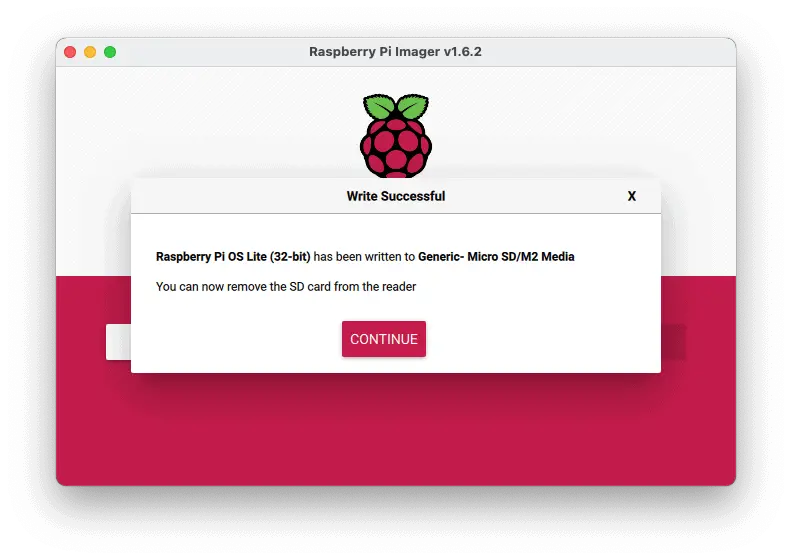
But First, Installing Raspberry Pi OS
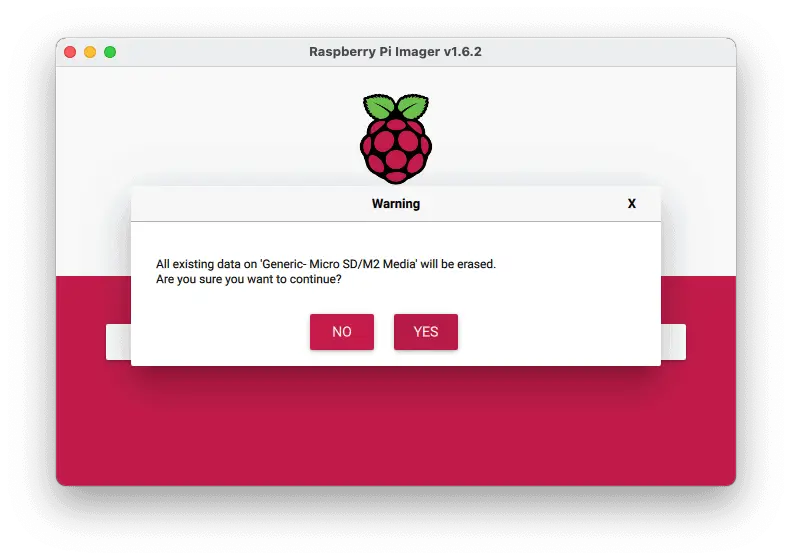
You’ll notice that Pi-Hole isn’t a stand-alone Linux distribution that can just be flashed onto an SD card for use in your Pi. It requires that Rasberry Pi OS be installed first.
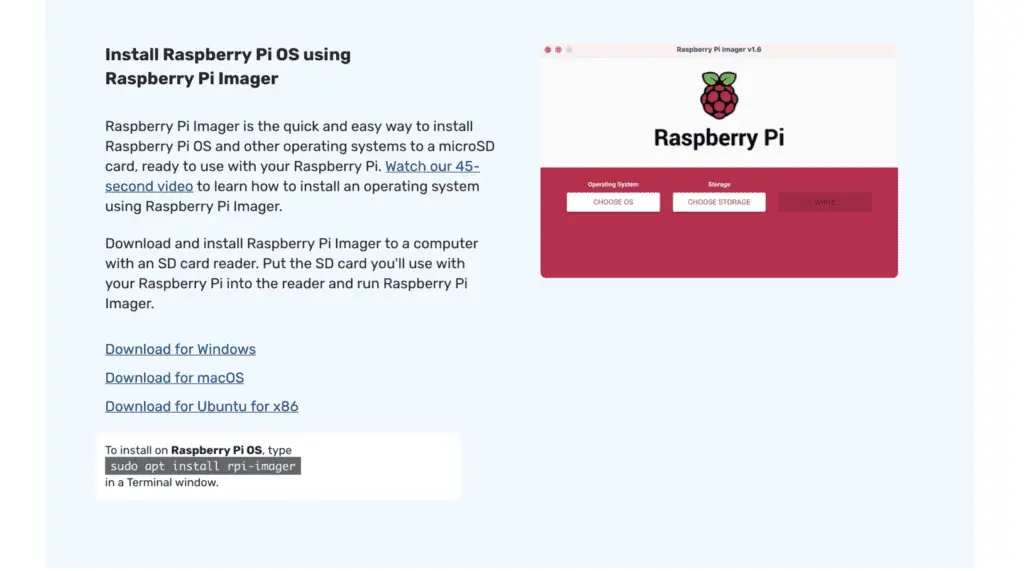
Here’s how that’s done. Head over to:
https://www.raspberrypi.com/software/
…and download the Raspberry Pi Imager for your OS.
Setting up Raspberry Pi OS

Now that you have a fresh install of Raspberry Pi OS, you can go ahead and power up your Raspberry Pi. There are a couple of steps left to get it configured.
First, run:
sudo raspi-config
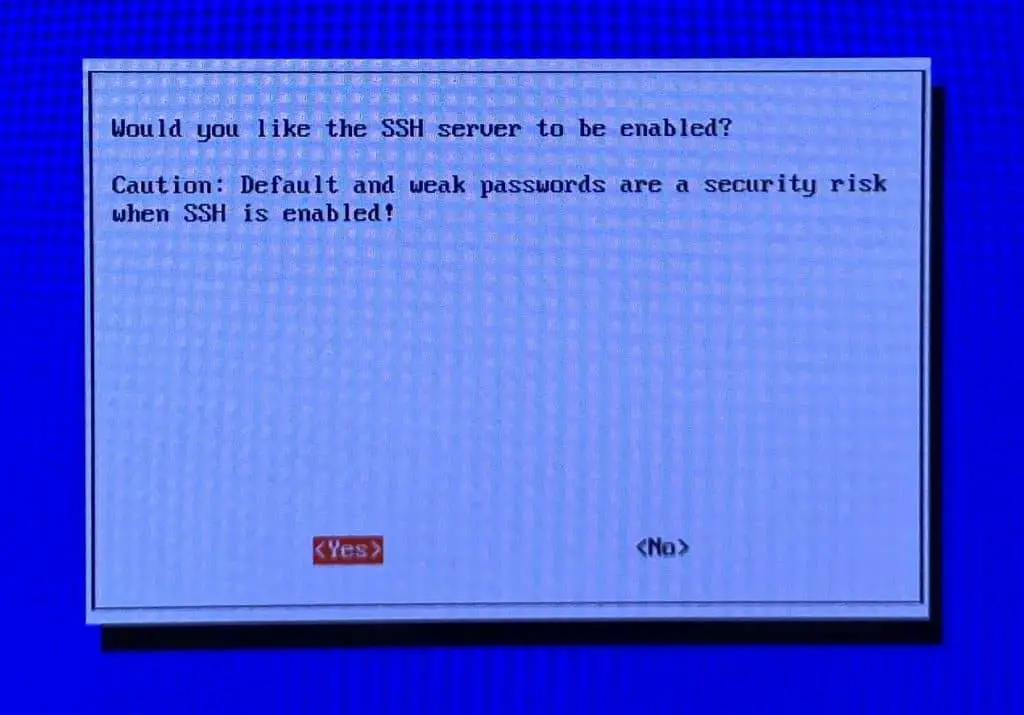
You’ll see the Raspberry Pi configuration menu.
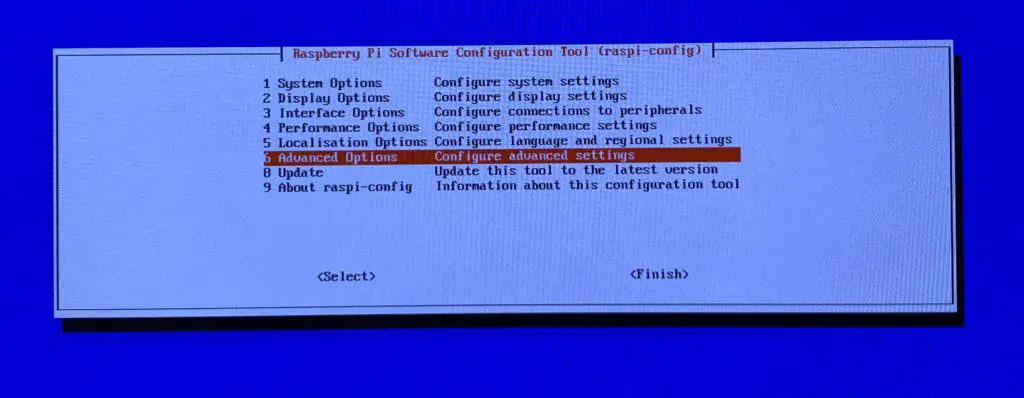
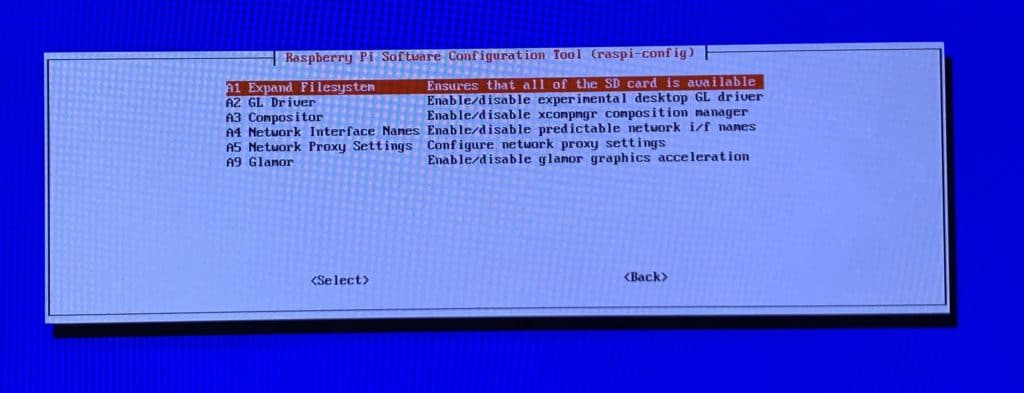
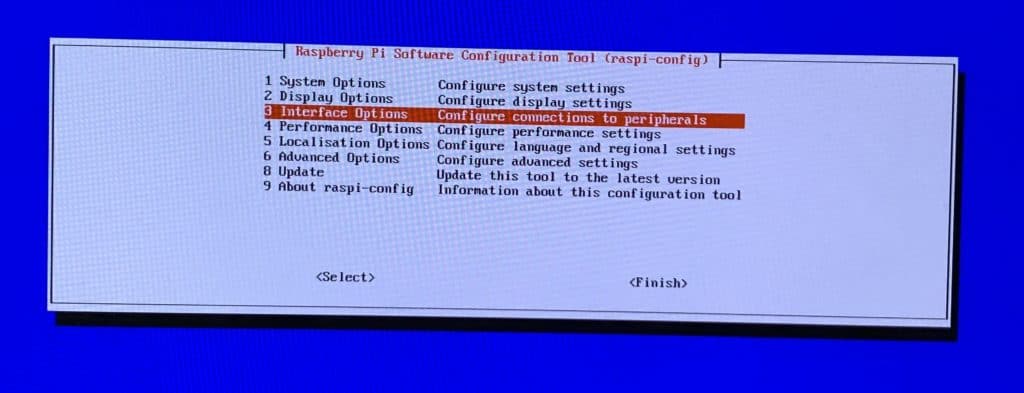
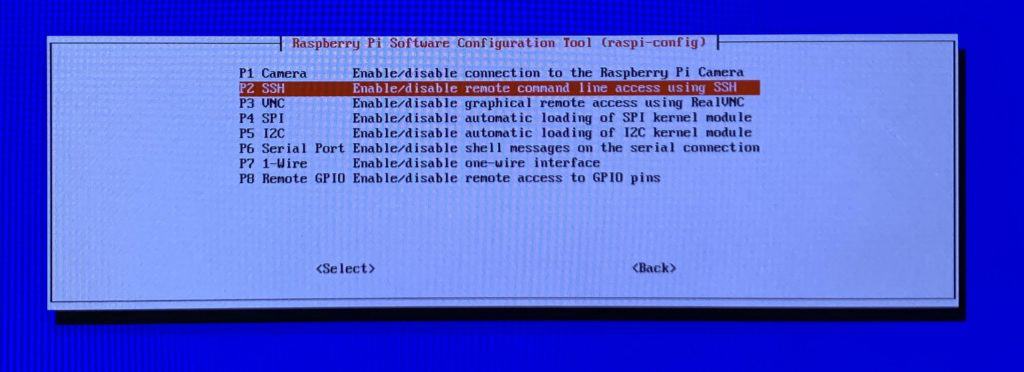
With SSH enabled, you can exit the Raspberry Pi configuration tool and reboot if prompted.
One last thing – make sure you change the default password for the system by running:
passwd
Set a Static IP Address on Raspberry Pi
Before set up Pi-Hole and unplug the monitor and keyboard from the Raspberry Pi, a static IP address needs to be configured.
On most networks, by default, when a device connects to your network it will ask your router for an IP address and be assigned one automatically.
This is usually fine, but that address can change over time. As the Pi-Hole will be acting as a DNS server, and we will want to be able to connect to it via SSH periodically for maintenance, if the IP address changes, we won’t know where to find it.
So, a static IP address needs to be set, so that it wont’t change.
This is done on Raspberry Pi OS by editing the /etc/dhcpcd.conf file. Below, the file is opened with the nano text editor:
sudo nano /etc/dhcpcd.conf
You’ll see the following screen – it’s the nano text editor. Navigate with the arrow keys, delete text with backspace, and type as normal:
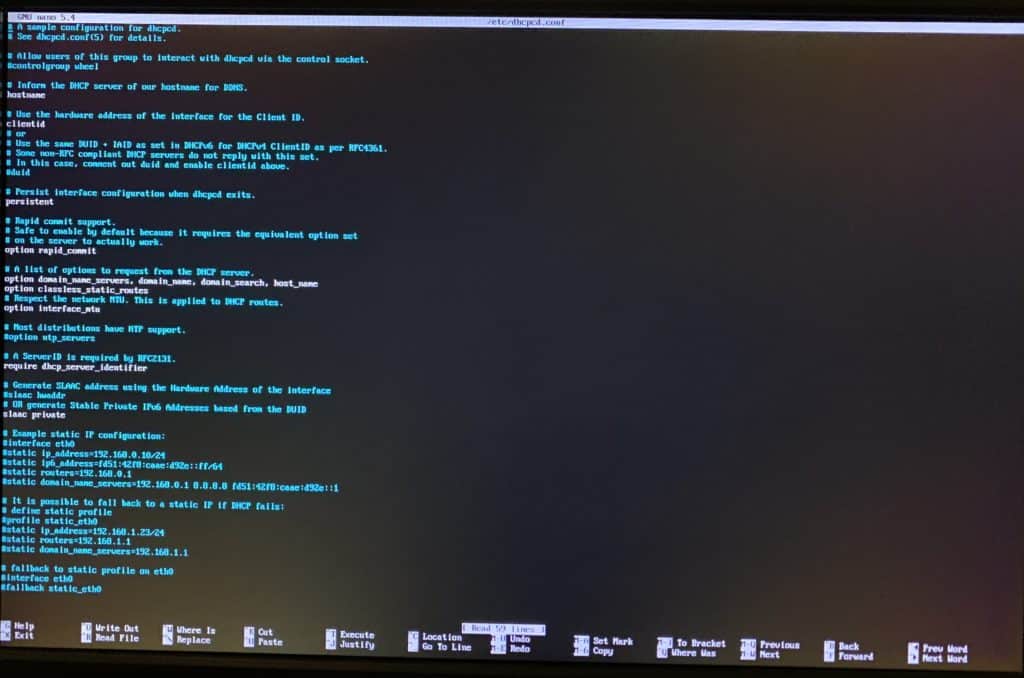
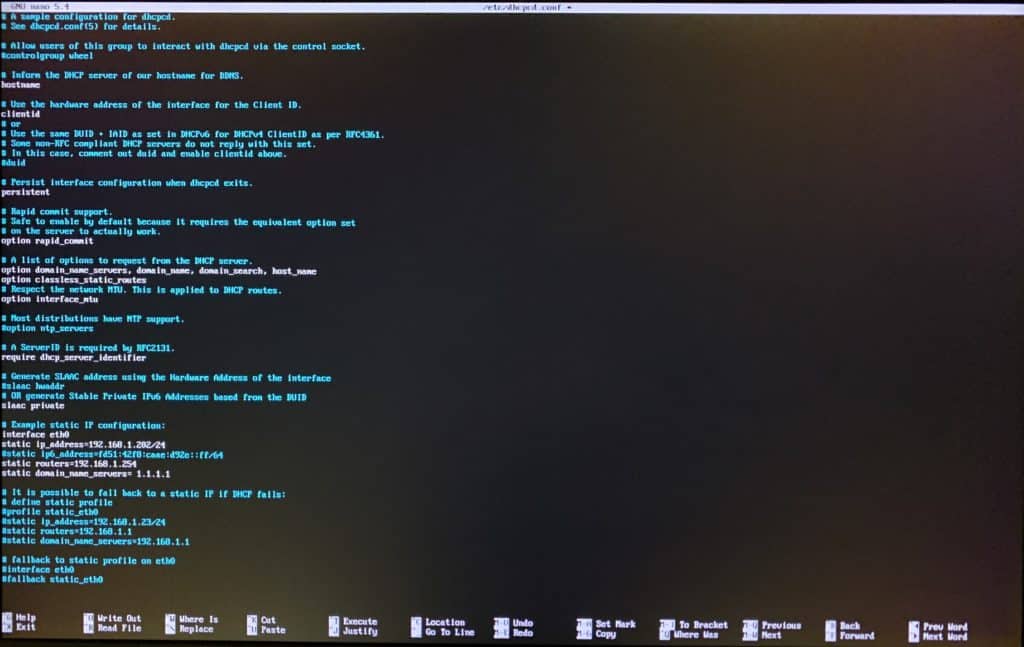
Scroll down through the configuration file until you see the line
# Example static IP configuration:
By default this configuration is commented out – the lines beginning with a # are ignored by the system. Uncoment the lines so that this section looks like the below:
interface eth0
static ip_address=192.168.1.202/24
static routers=192.168.1.254
static domain_name_servers=1.1.1.1
Here’s what those values mean:
- interface eth0 – this will be the configuration for the interface called eth0 (usually the first/default wired Ethernet connection on a Linux system)
- Our article on setting a Static IP Address on a Raspberry Pi [With Screenshots] has more info on this if you run into trouble
- static ip_address – this sets the static IP address in CIDR notation
- Make sure you use an IP address that won’t be automatically assigned by your router
- static routers – sets the router for your network
- Set this to the IP address of your existing router
- static domain_name_servers – your Pi-Hole will be acting as a DNS server, but the underlying Raspberry PI OS will need a server for connecting to the internet to perform software updates, etc
- I’ve entered 1.1.1.1 for CloudFlare’s DNS server. You could also use 8.8.8.8 which is the address for Google’s DNS service
Notice I’ve left out the IPV6 configuration to keep things simple – most home networks do not use IPv6.
Press the CTRL + X keys to quit the nano text editor. Press Y to save and confirm the changes.
Reboot to apply the changes:
sudo reboot
Log back in and run the following commands to make sure your Raspberry Pi OS software is up to date:
sudo apt update

sudo apt upgrade
Installing Pi-Hole on Raspberry Pi OS
Pi-Hole can now be installed on top of Raspberry Pi OS!
Run the following command to download the installation script:
wget -O basic-install.sh https://install.pi-hole.net
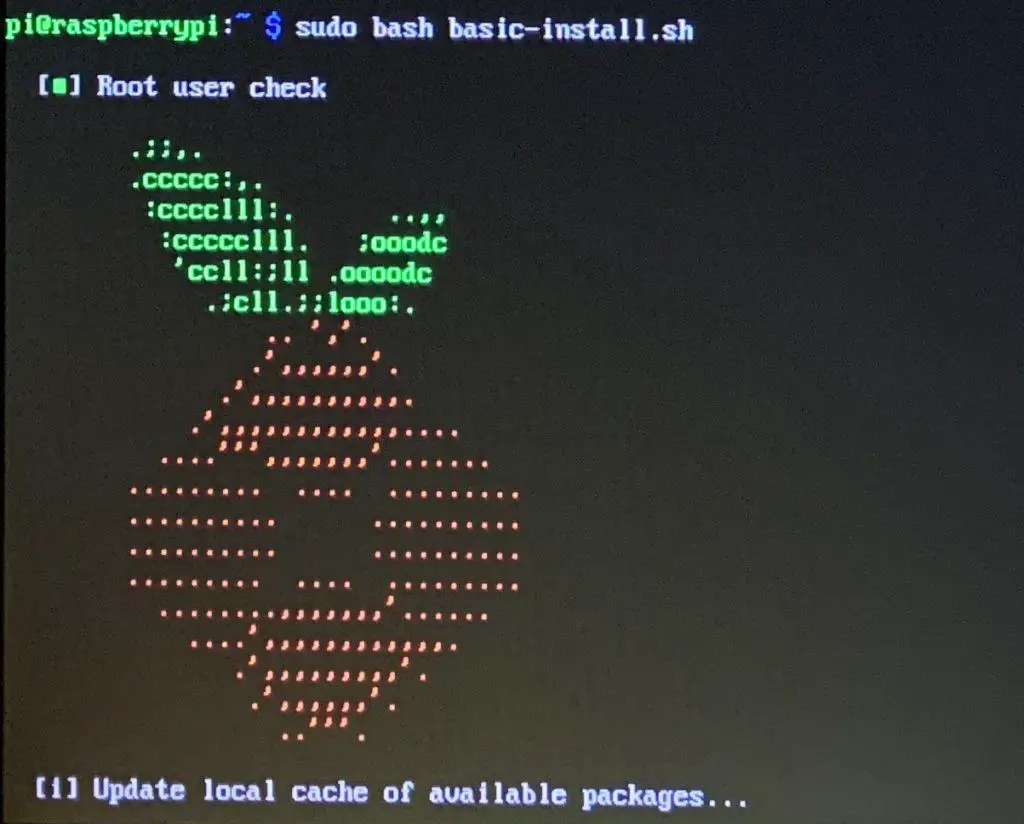
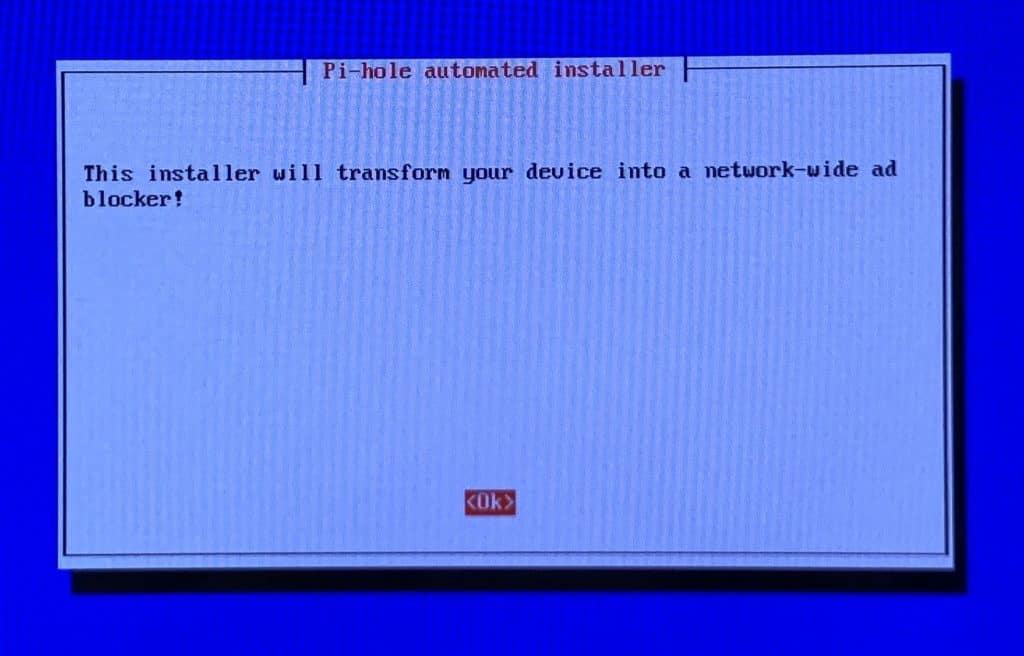
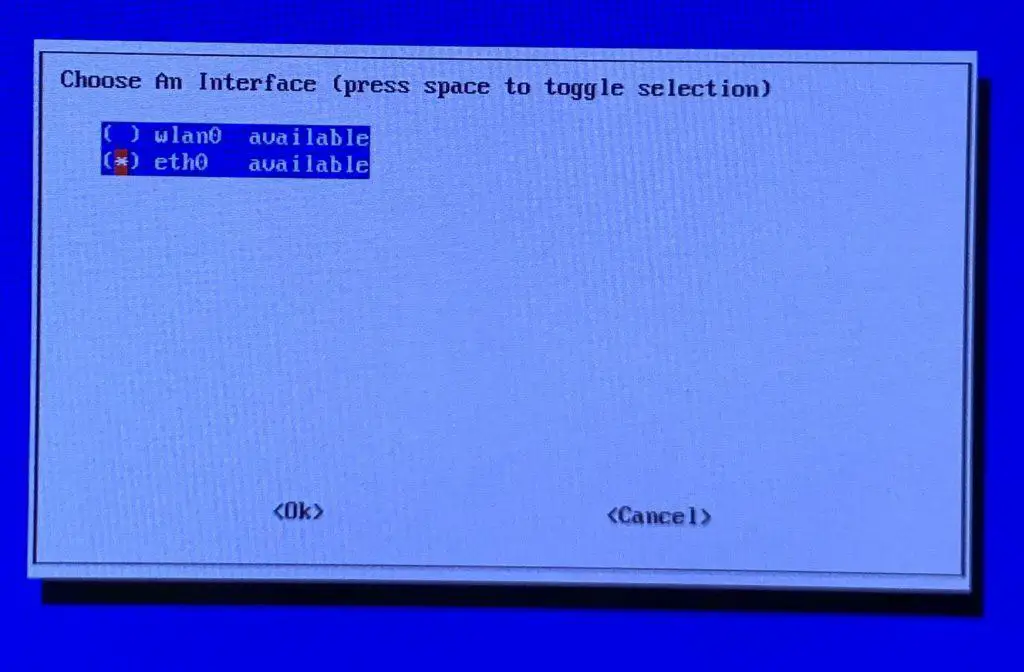
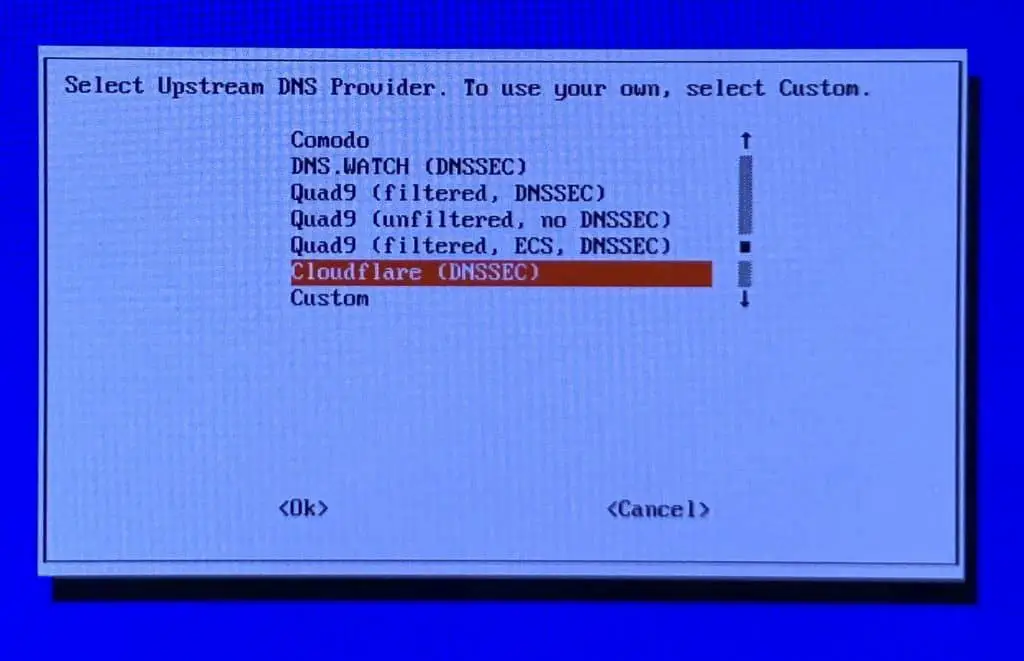
Execute the installation script by running:
sudo bash basic-install.sh
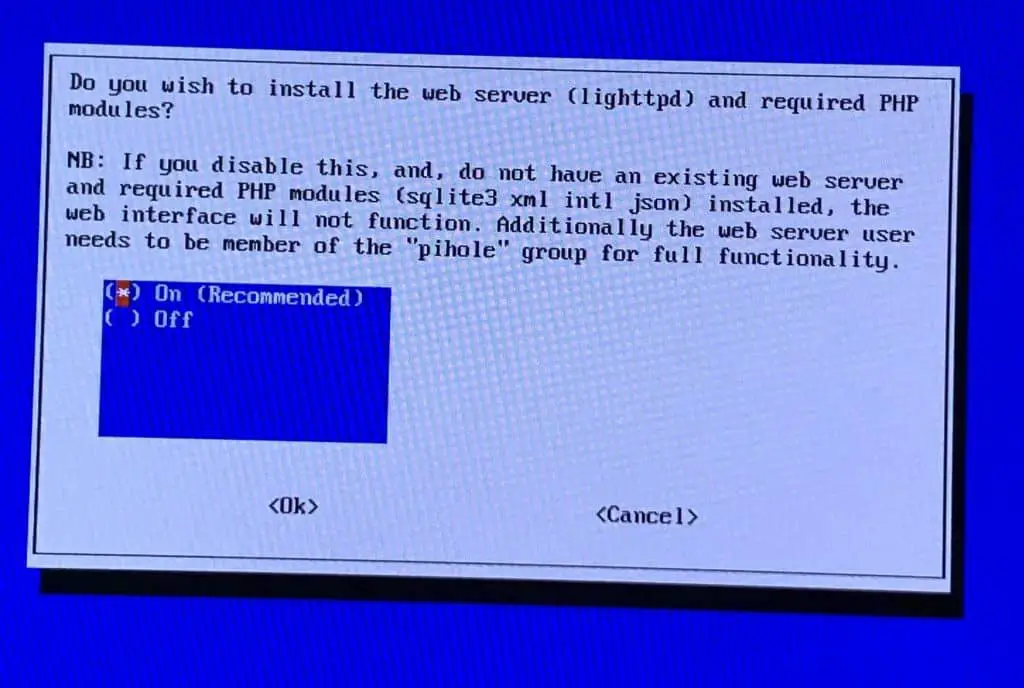
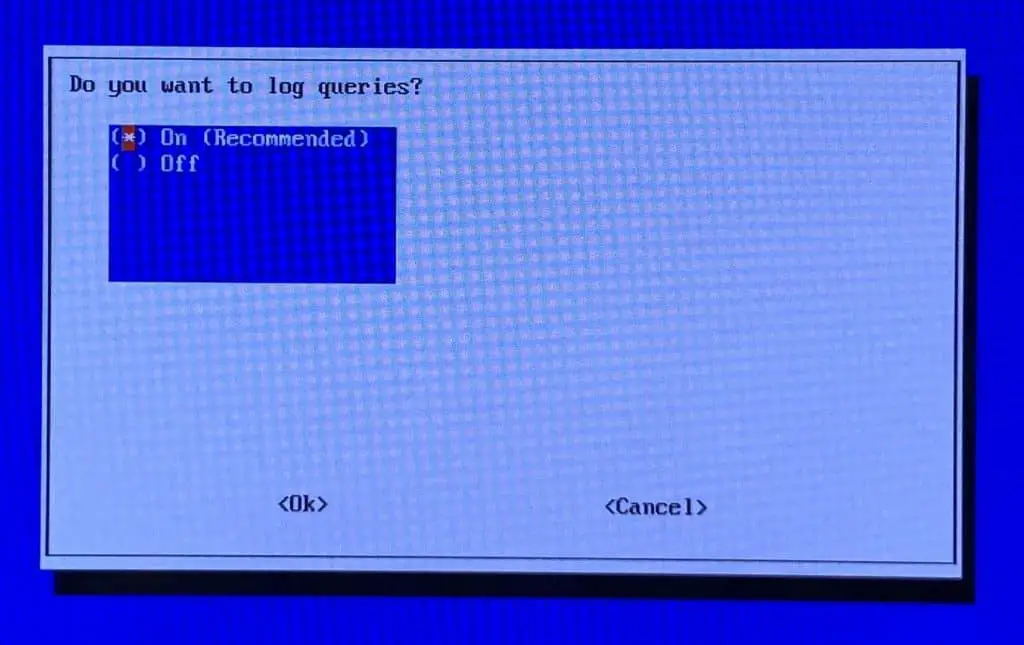
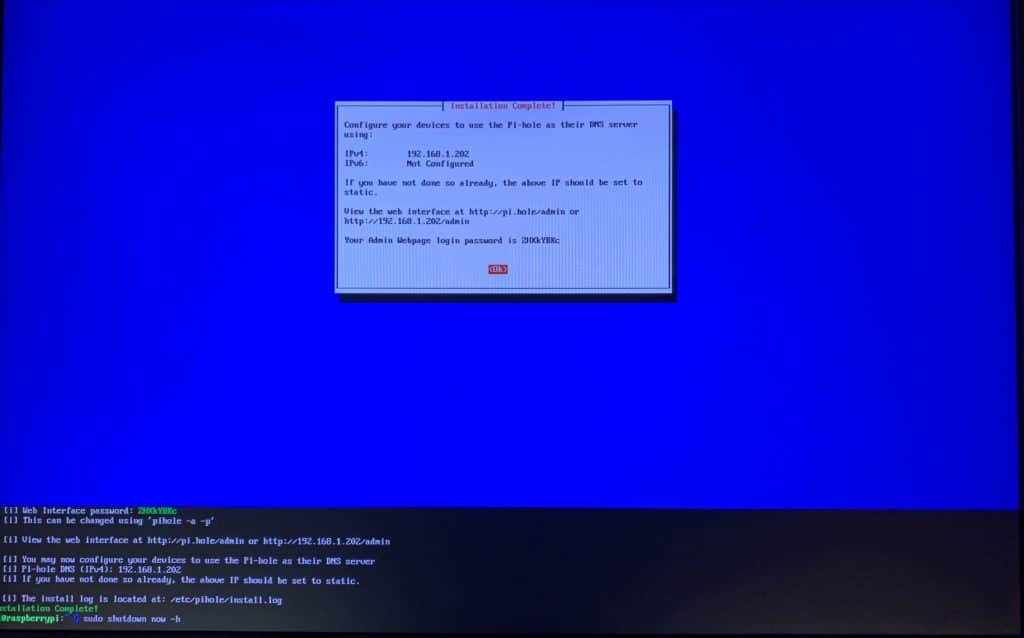
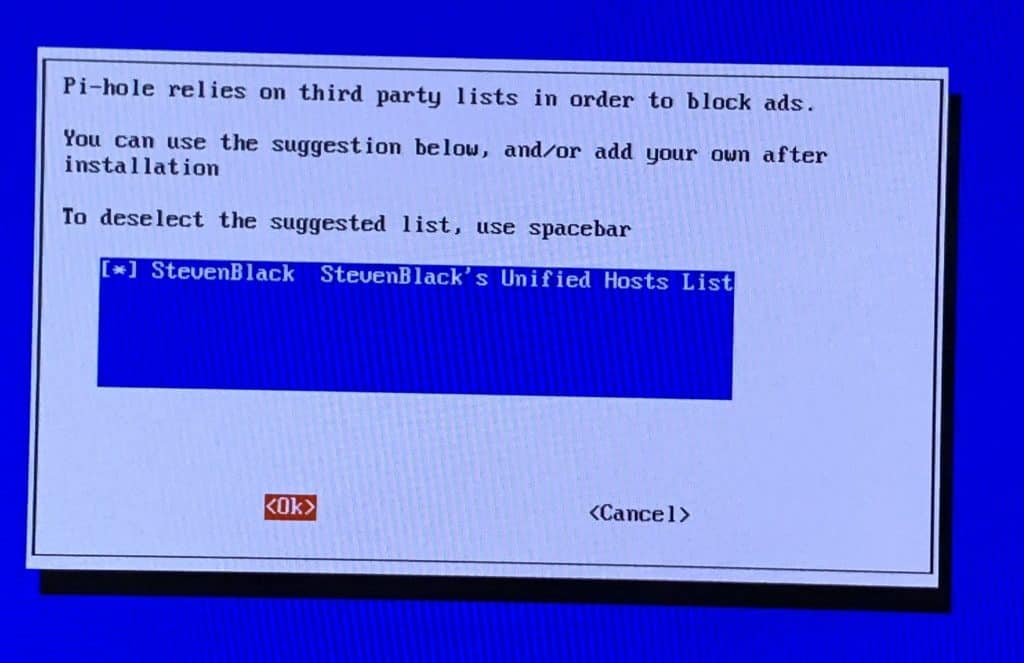
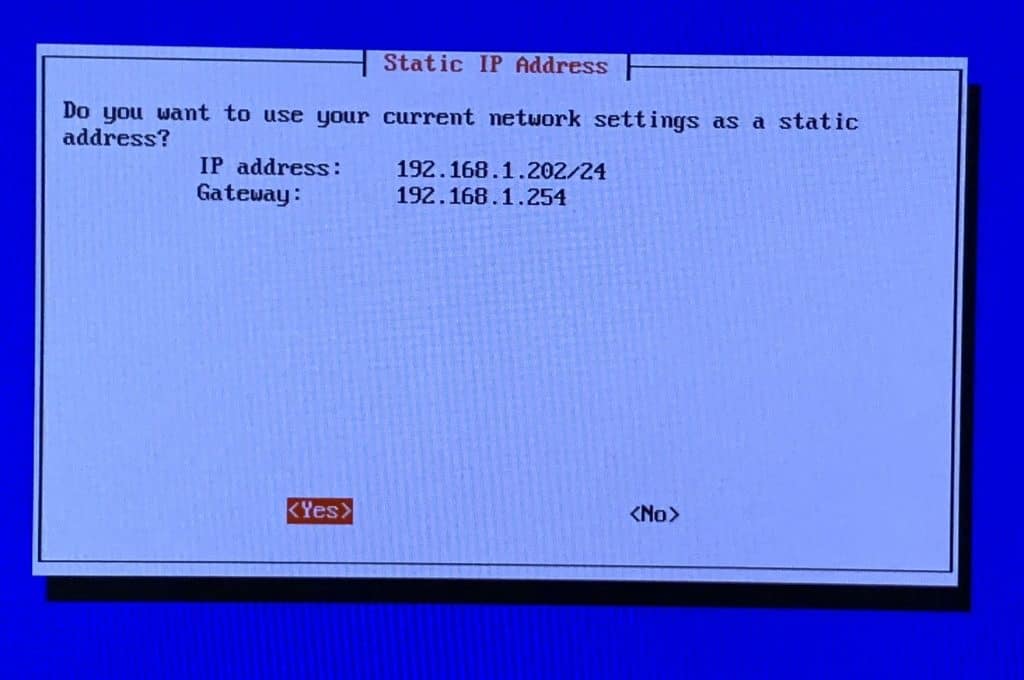
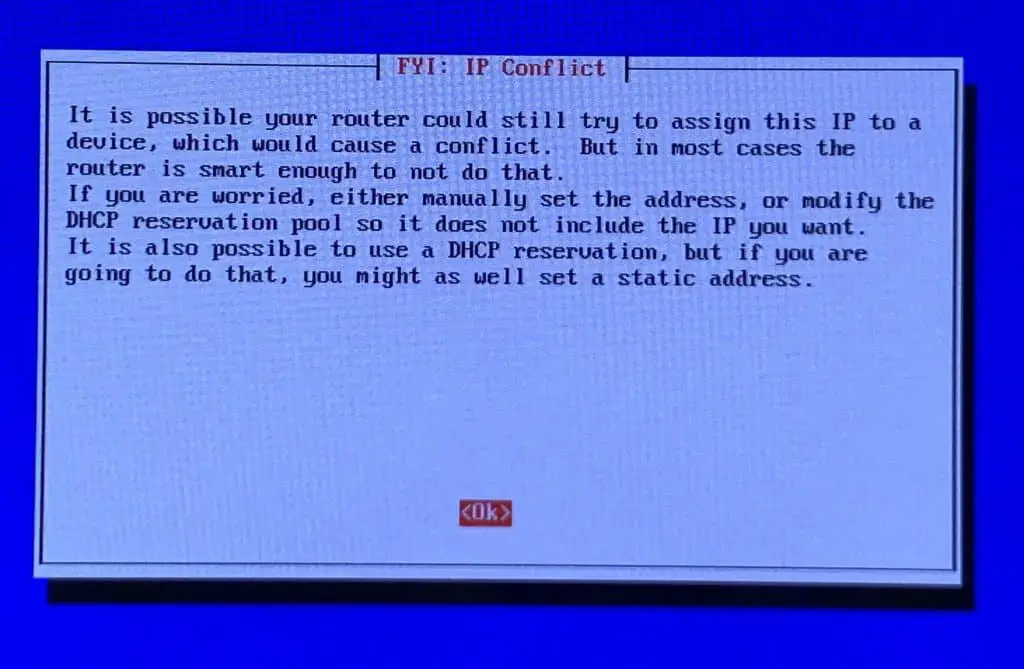
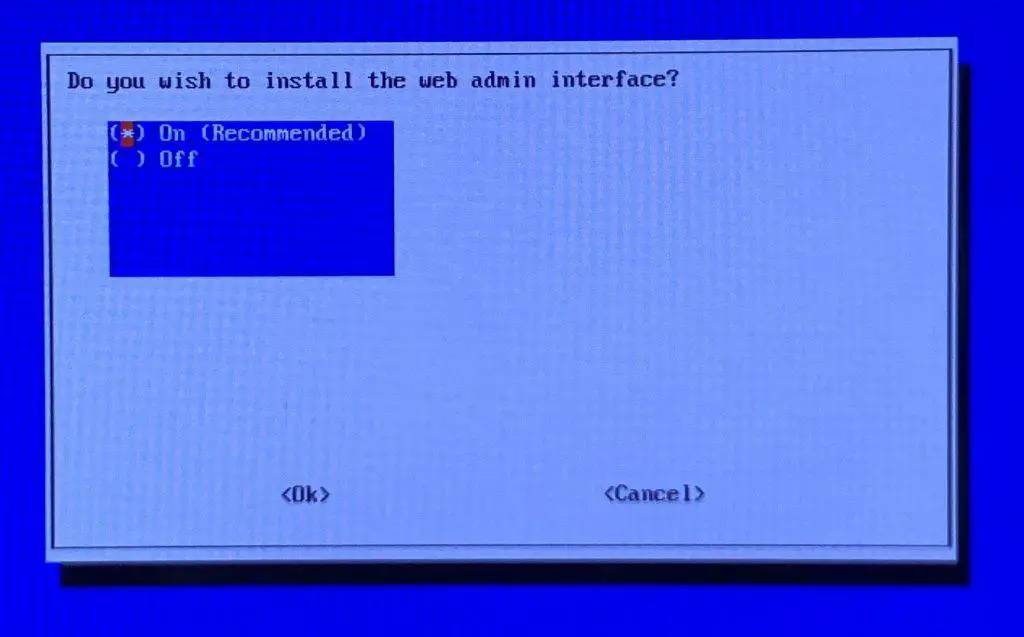
If all goes well, you’ll see the following screen:

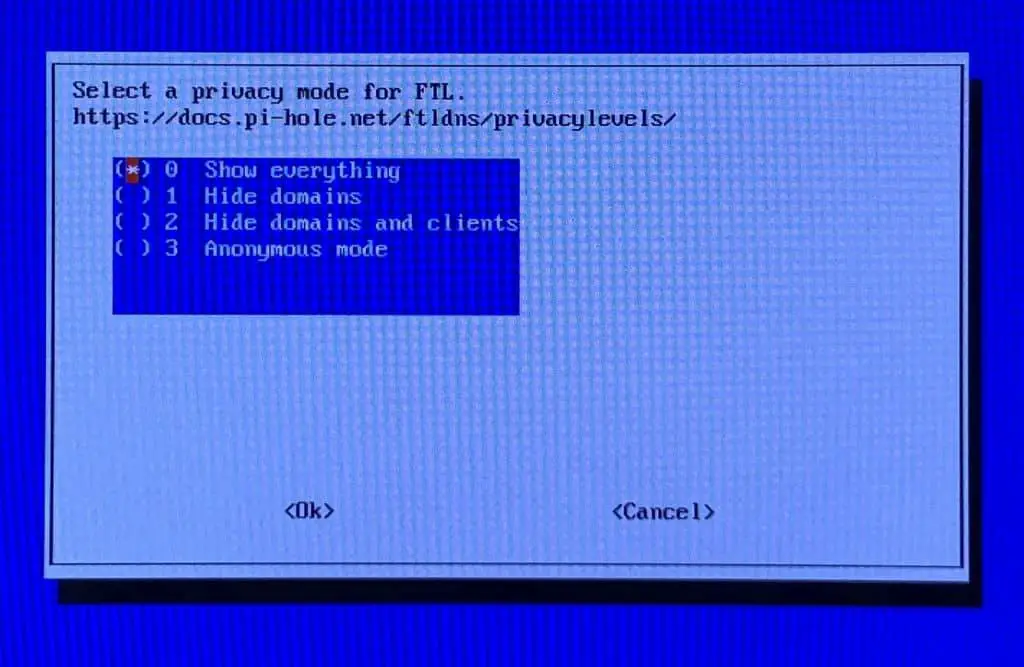
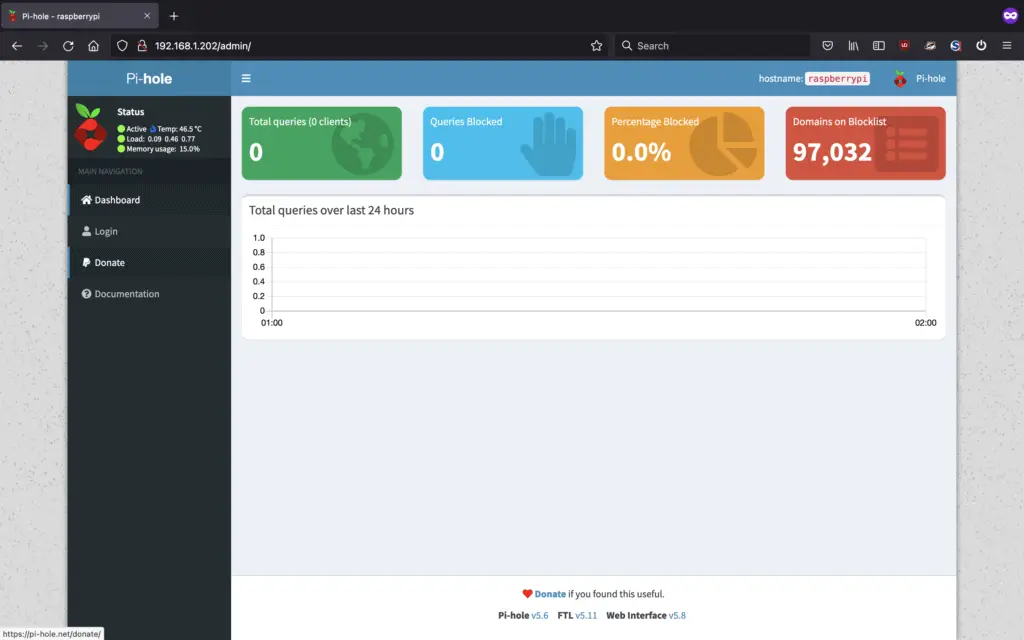
Success!
P-Hole is now configured. You can disconnect your monitor and keyboard from the Pi.
Leave the Raspberry Pi plugged in somewhere with power and network connectivity.
Manually Setting DNS Server to use PiHole
Your other devices will still be receiving their DNS server details from your router. You’ll need to manually set the DNS server on each device (or in the DHCP settings on your router if your router supports it).
You’ll need to set the DNS server on your devices to point to the IP address you set manually for your Raspberry Pi in the previous steps.
Manually Setting DNS Server on Linux
Click here to view our article on how to manually set your DNS server on Linux
Manually Setting DNS Server on Windows/Mac/iOS/Xbox
Click here to find out how to change DNS settings on other operating systems


