Home » Linux » Raspberry Pi » Motioneyeos Raspberry Pi Cctv

Quick and Dirty CCTV with Raspberry Pi, MotionEyeOS + Webcam

In this article, I’ll walk through the process of setting up MotionEyeOS on a Raspberry Pi, using a cheap USB webcam to create a DIY CCTV system.

MotionEyeOS is a pre-configured Linux distribution that turns your Raspberry Pi into a home CCTV system.  You can set up multiple cameras and set them to detect motion or record on a timer, and send the resulting photos and videos to you via email or save them to online storage.

What You’ll Need

  • A Raspberry Pi
  • A USB Web camera (or cameras)
  • A wired network to set things up
  • A cup of tea to drink while things install
motioneyeos 0
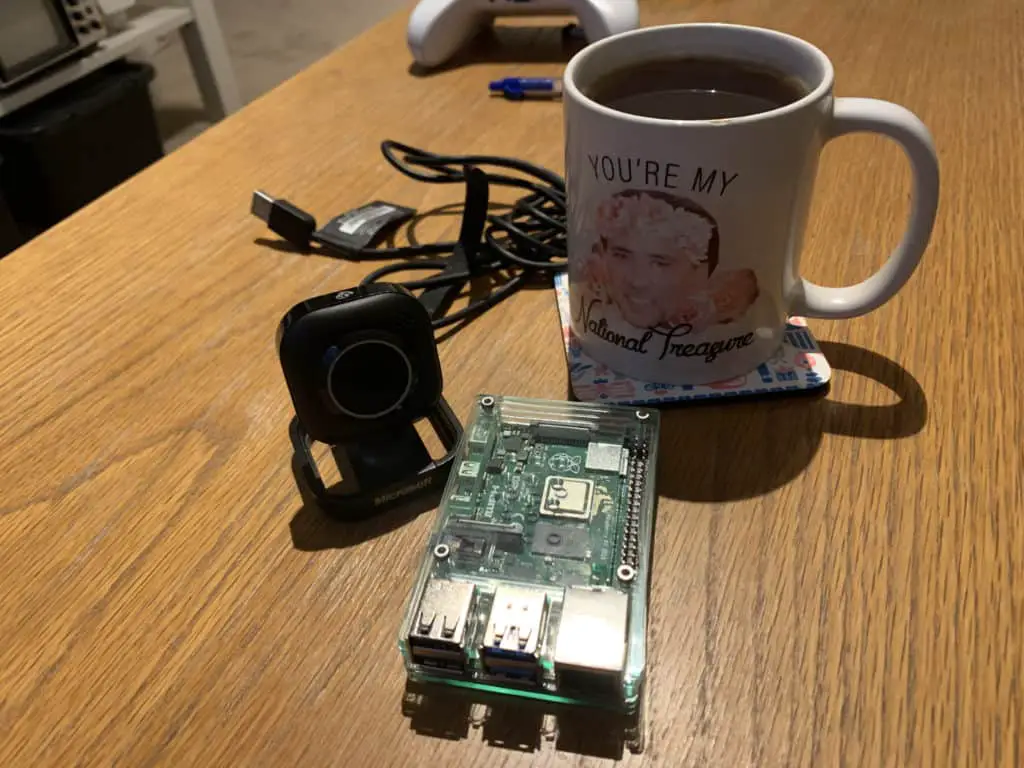
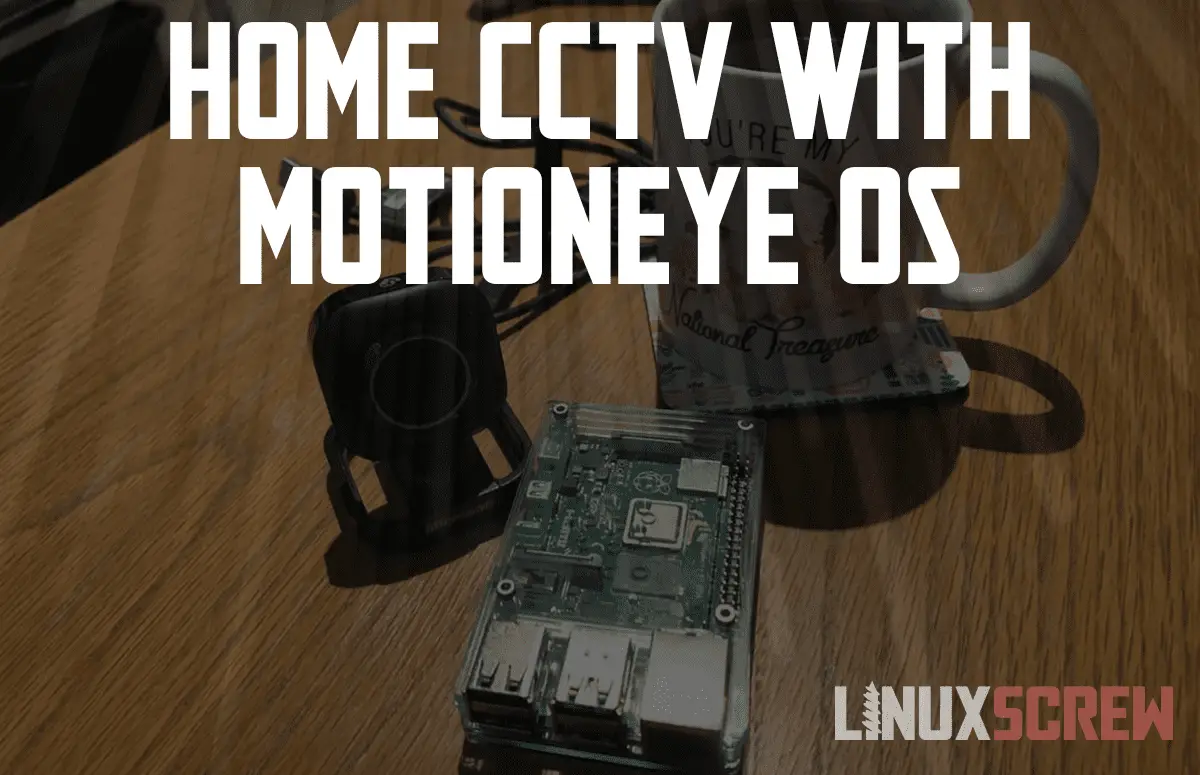
Raspberry Pi, USB Webcam, and creepy teacup are all present.


Downloading and Installing MotionEyeOS for Raspberry Pi
motioneyeos 1
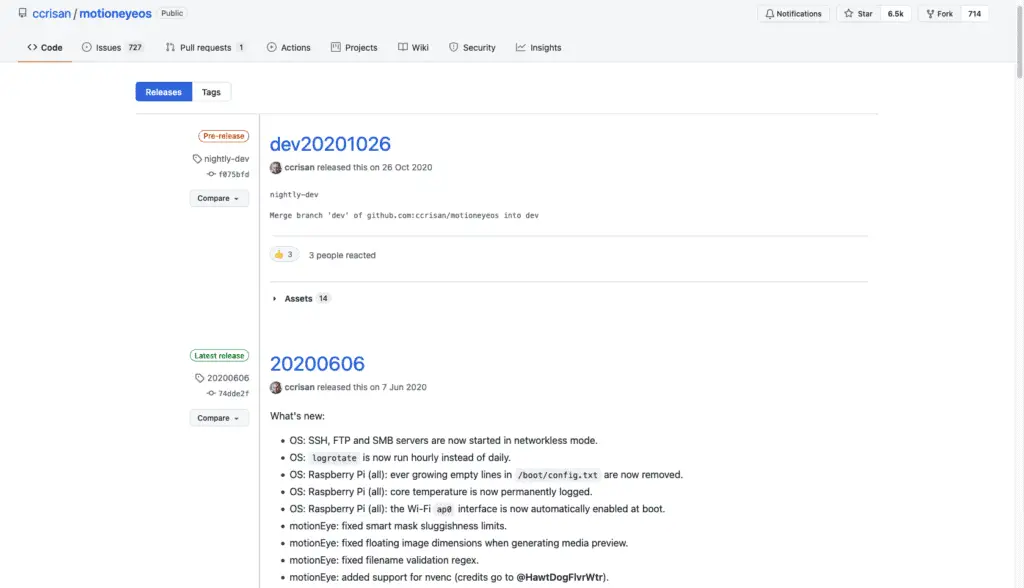
Download the latest MotionEyeOS release from their GitHub. Make sure you get the latest version for all of the newest features and fixes.
motioneyeos 2
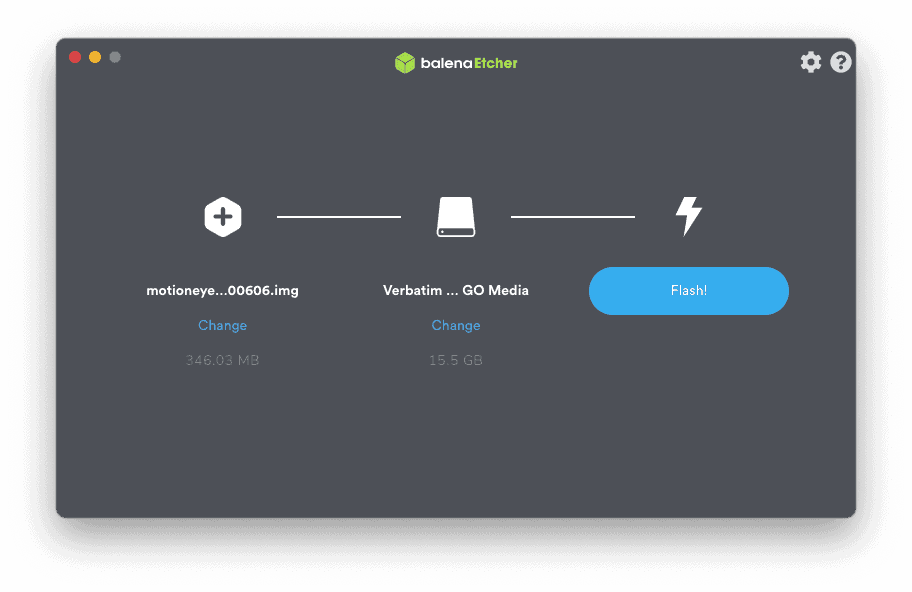
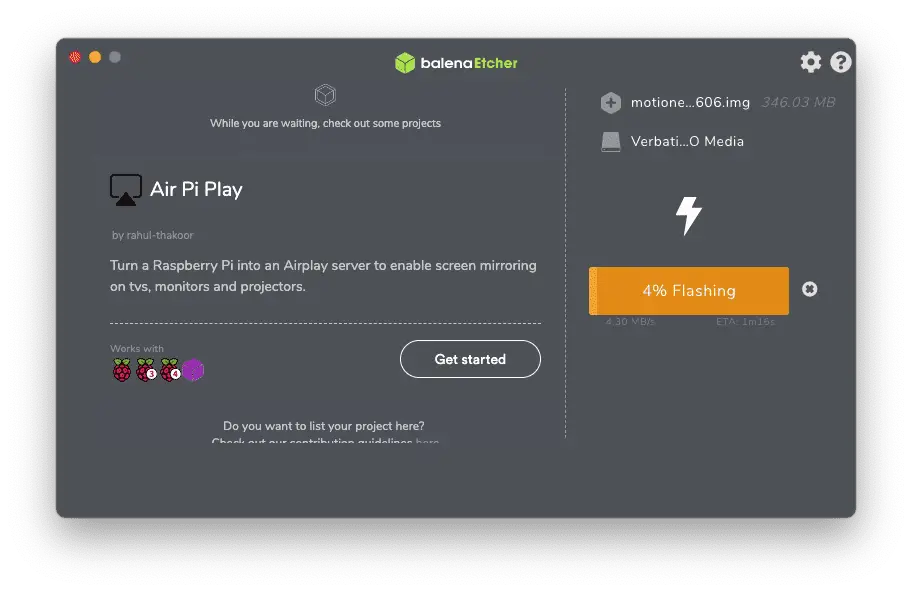
I’m using Balena Etcher to write the downloaded installation image to an SD card for use in my Raspberry Pi. Simply open Etcher and select a disk image and device to write it to.


motioneyeos 3
It may take a while to write the image – time for that cup of tea.


motioneyeos 4
When it’s done, close Etcher and insert the newly-written SD card into your Raspberry Pi.
motioneyeos 5
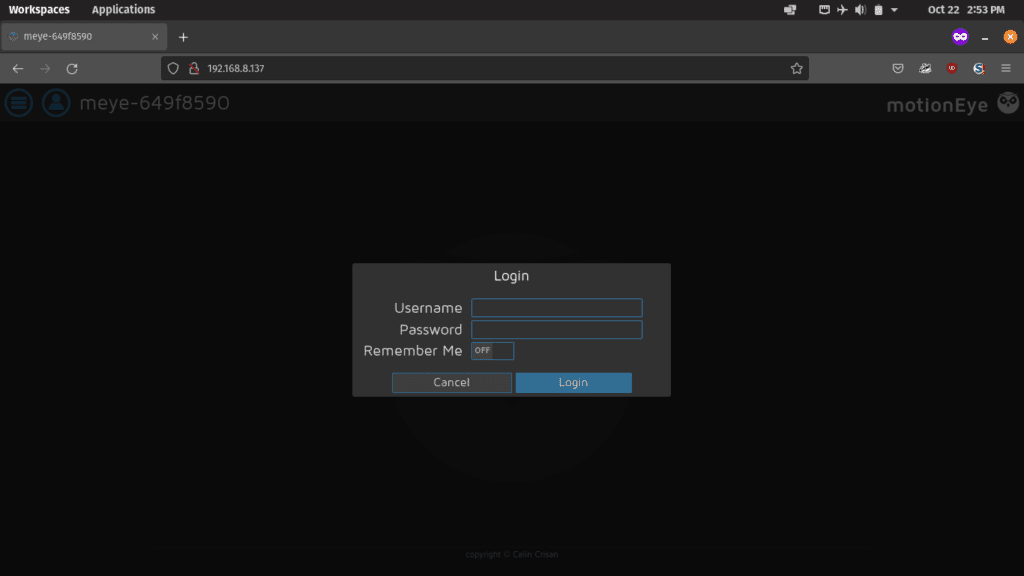
Your Pi will need to be connected to your LAN via Ethernet cable for this next bit. You’ll also need to know the IP address of your Raspberry Pi – we’ve previously detailed how to do that here. Once you’ve sorted all of that, head to http://<your-raspberry-pi-ip-address>.

Logging in to MotionEyeOS

By default, MotionEyeOS has two users configured

  • Username ‘admin,’ with no password
  • Username ‘user,’ also with no password

The user will only have permission to view video streams and cannot edit the configuration.

Make sure you change the passwords to both accounts to prevent snooping!


motioneyeos 6
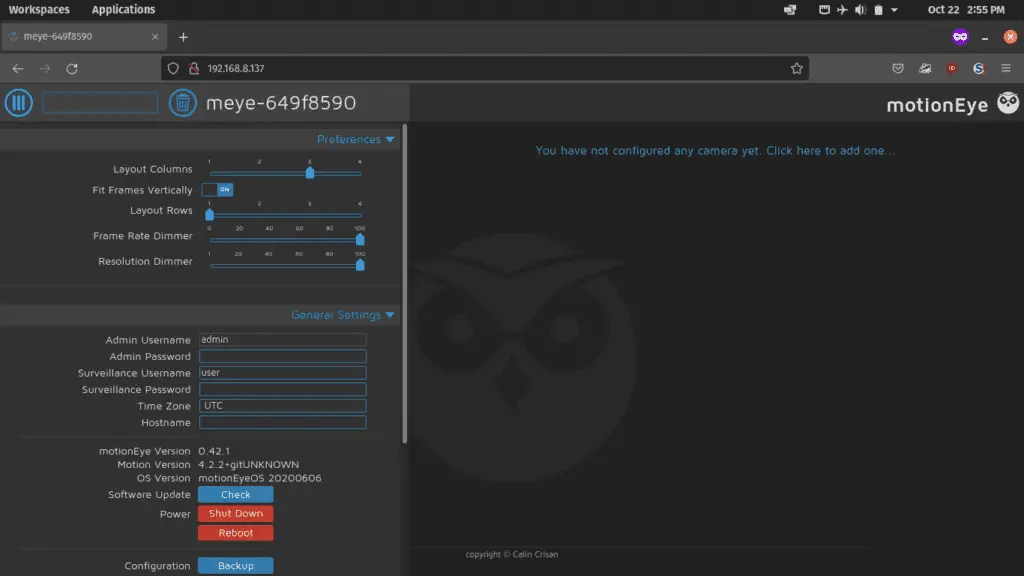
This is what you’ll see after logging in to MotionEyeOs. On the left, a panel for configuration – and on the right, a currently-empty panel that will display video feeds.
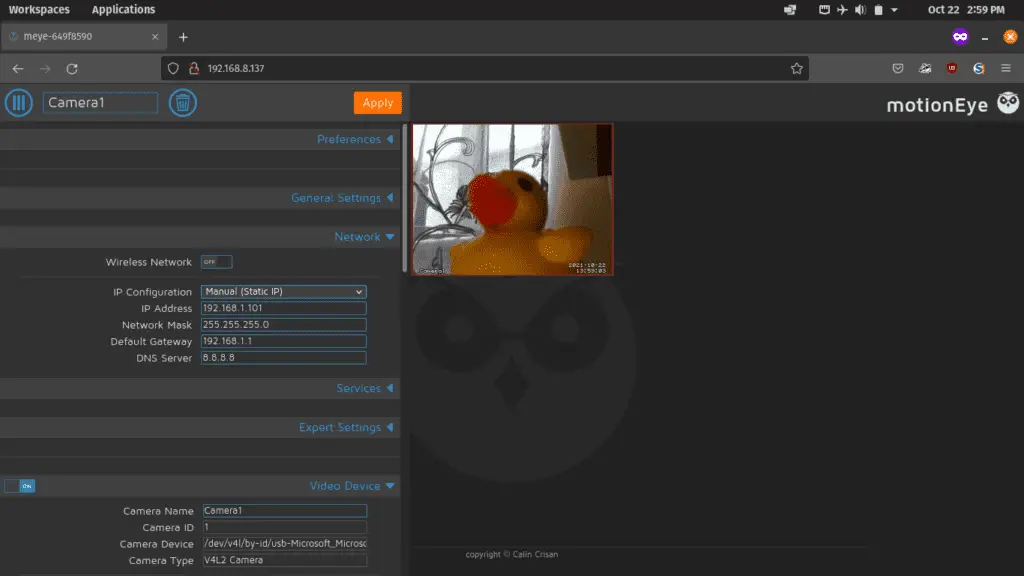
I won’t cover all of the configurations – save to say that you probably want to set a static IP address so that you know where to access your CCTV system in the future, rather than having to look it up every time.  I’ll cover this further along in the article.

Adding a USB Camera to MotionEyeOS

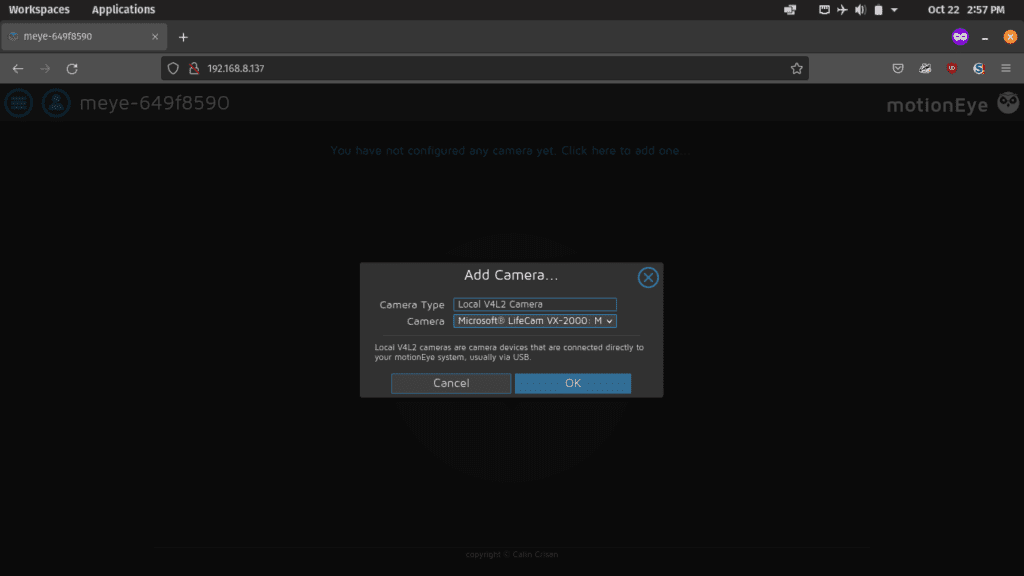
A CCTV system needs to be able to see. So plug in your USB web camera and wait a few seconds before clicking the message to add it to the system in the right-hand panel in the web UI.
motioneyeos 7
The ‘Add Camera’ dialog. Leave ‘Camera Type’ as-is and select the USB webcam from the dropdown. Most generic USB cameras should be compatible.


motioneyeos 8
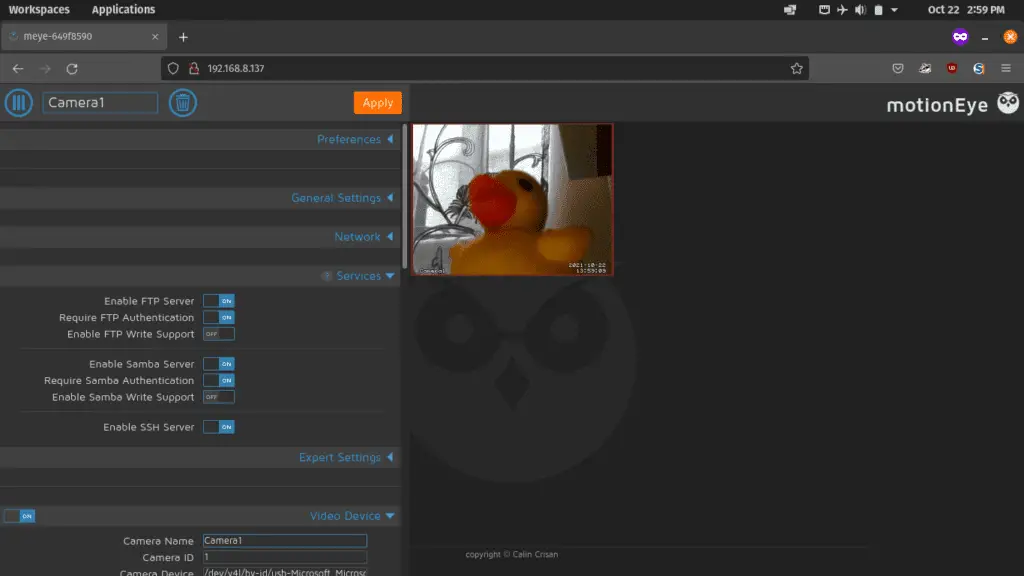
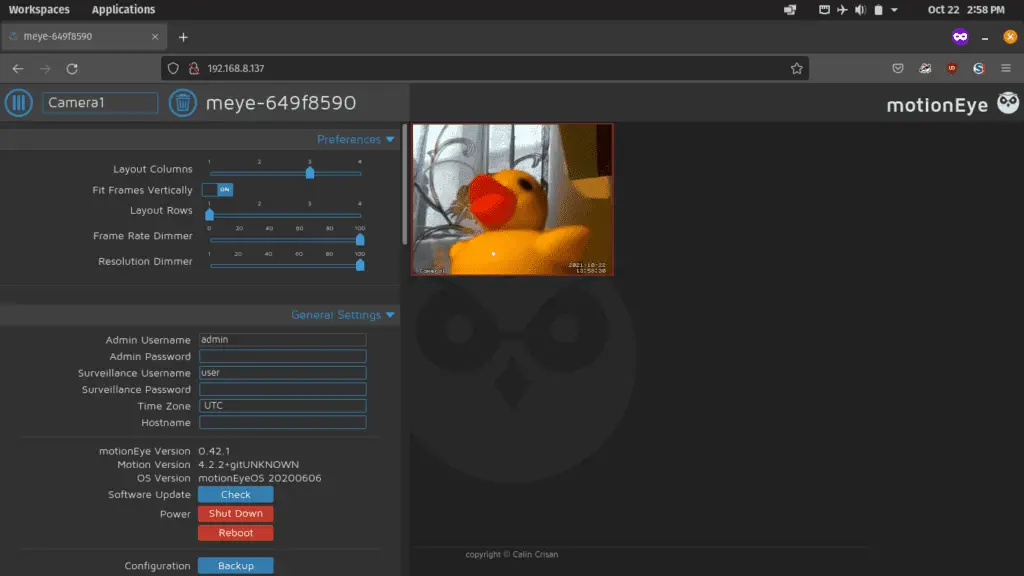
Success! The camera is live.  Camera feeds will show in the right-hand panel once added.  My camera is watching a duck.

Additional Configuration

There are a few other bits and pieces you’ll want to configure before finishing up.
motioneyeos 9
Scroll down to the ‘Network’ section to set up a Static IP address for your MotionEyeOS CCTV system so you can find it on the network.


motioneyeos 10
The ‘Services’ section can be used to configure how your system should be accessible on the network. SFTP and SAMBA are file-sharing protocols that will let you copy video recordings off the device over your local network.
motioneyeos 12
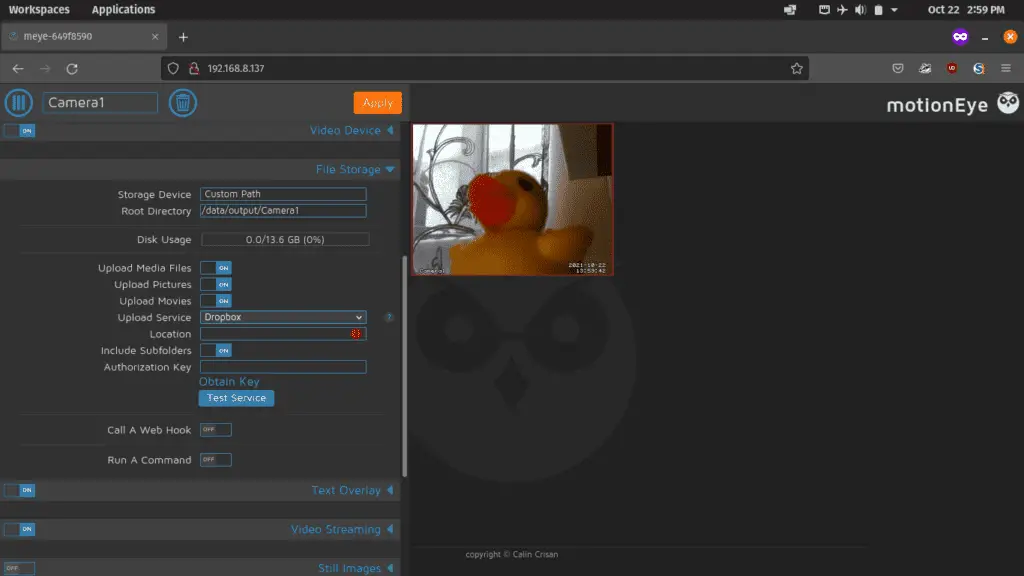
Additional ‘File Storage’ can be configured – including cloud services like DropBox.  This will make your recordings available to you anywhere – and keep your recording safe if you are robbed, and the thief happens to steal your Raspberry Pi as well.


motioneyeos 11
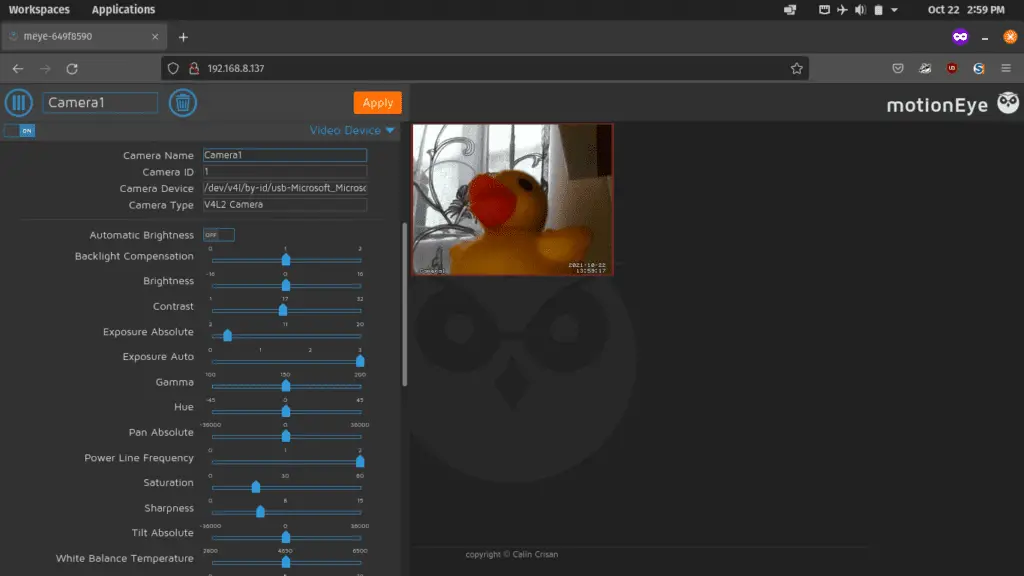
Cameras can be individually tweaked to account for lighting and positioning.
motioneyeos 13
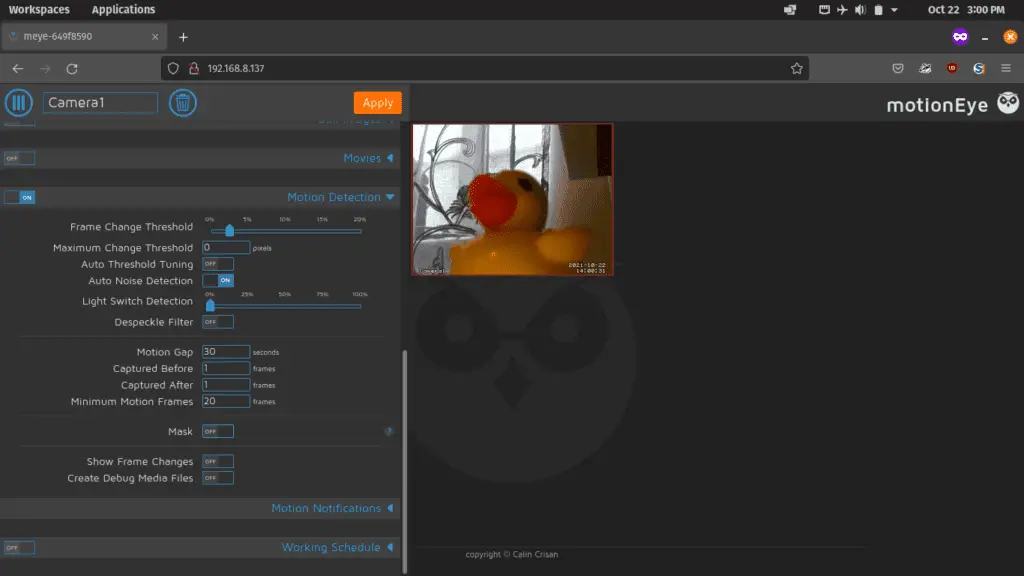
Motion detection options can be configured to trigger recording based on motion in certain regions of the recording.


motioneyeos 14
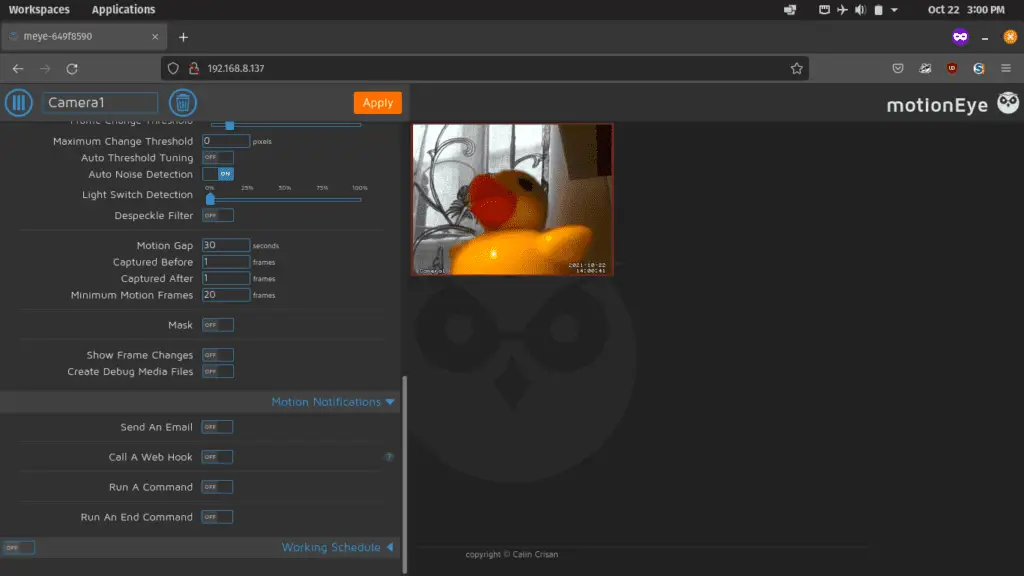
Notifications via email can be set up – or webhooks can be configured if you want to hook MotionEyeOS into your own DIY home automation system.

So there it is! My duck is under close surveillance.

MotionEyeOS is an inexpensive way to build a home CCTV system.  The Raspberry Pi 4 has 4 USB ports on it, so you could add up to 4 USB cameras and use some USB extension cables to position them to watch your holiday shack or garage.

Commercial cloud CCTV systems can run hundreds of dollars and require monthly subscriptions – combining a Raspberry Pi, MotionEyeOS, and a Dropbox account can achieve this for much less.

USB webcams can be found for pennies on online auction sites, and MotionEyeOS also supports a variety of networked cameras if you want to expand your system outside of the reach of USB cables.

SHARE:
Photo of author
Author
I'm Brad, and I'm nearing 20 years of experience with Linux. I've worked in just about every IT role there is before taking the leap into software development. Currently, I'm building desktop and web-based solutions with NodeJS and PHP hosted on Linux infrastructure. Visit my blog or find me on Twitter to see what I'm up to.

Leave a Comment