I found some cool software called Web Rendering Proxy that lets your browse the internet on vintage computers and decided to try it out – here’s how it went.
The result of this was that yes, I could browse the internet, and that yes, it was a completely miserable experience. But it was worth it anyway.
What’s Involved
- A computer with an ethernet adapter
- Windows 3.11 For Workgroups
- Google will help you find a copy if you need one
- Microsoft TCP/IP-32 3.11b for Windows for Workgroups
- Again, a quick search will turn up sources for this
- Netscape Navigator for Windows 3.11
- Raspberry Pi 4
- Web Rendering Proxy Software
The Setup
I didn’t want to expose my old Windows 3.11 computer to the internet. It hasn’t seen a security update in the best part of 30 years (probably even before security updates went by that name). It shouldn’t be directly exposed to the internet or other network devices, and it won’t be.
So, instead it’s connected via ethernet to a Raspberry Pi 4, and only the Raspberry Pi 4. The Raspberry Pi 4 in turn is connected to my home WiFi.
The Raspberry Pi will do all of the talking on the network, and simply provide the Web Rendering Proxy to the Windows 3.11 box via the ethernet connection. That way the outdated Windows box stays safely segregated from the rest of the network with no way to talk to anything but the Pi.
Setting up the Raspberry Pi
The configuration on the Pi is dead simple, so I’ll just dotpoint it:
- Raspberry Pi OS was installed and configured
- The Pi was connected to WiFi and updated
- The ethernet interface on the Pi was given a static IP address
- This address is on a different network range to the one used on the home WiFi network
- The default route must be set so that the Pi uses the WiFi interface for internet
- By default it may try to use the ethernet interface, which of course has no internet access
- With all of that done, download and install Web Rendering Proxy
- Instructions are available at the link
Setting Up Windows 3.11
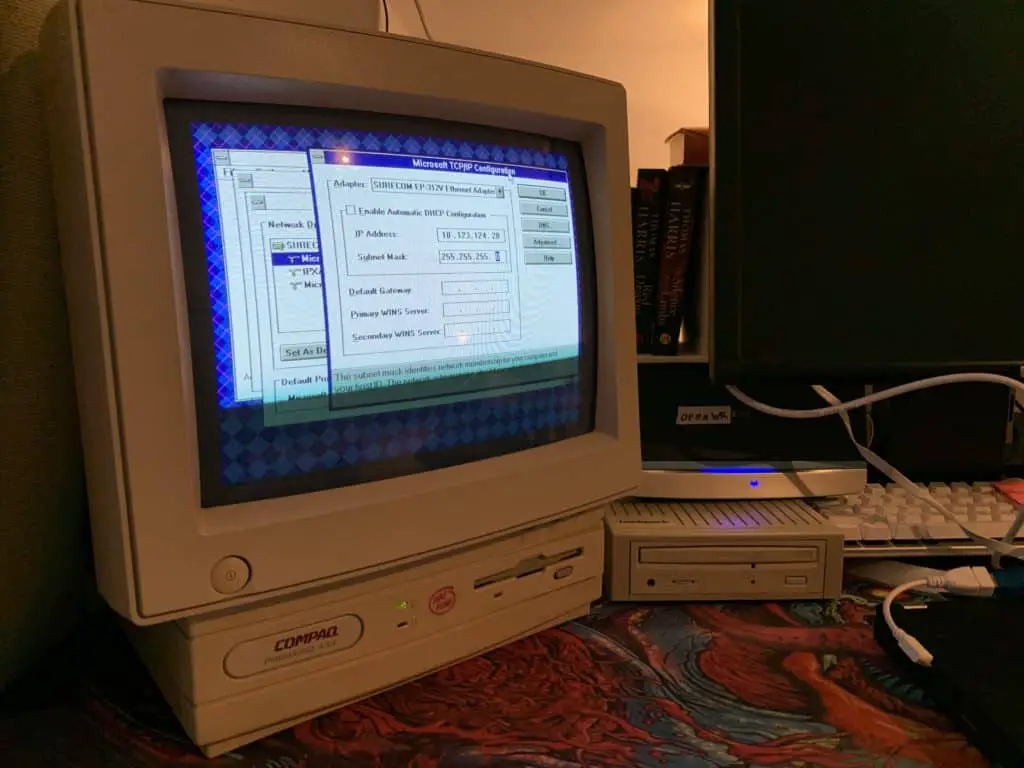
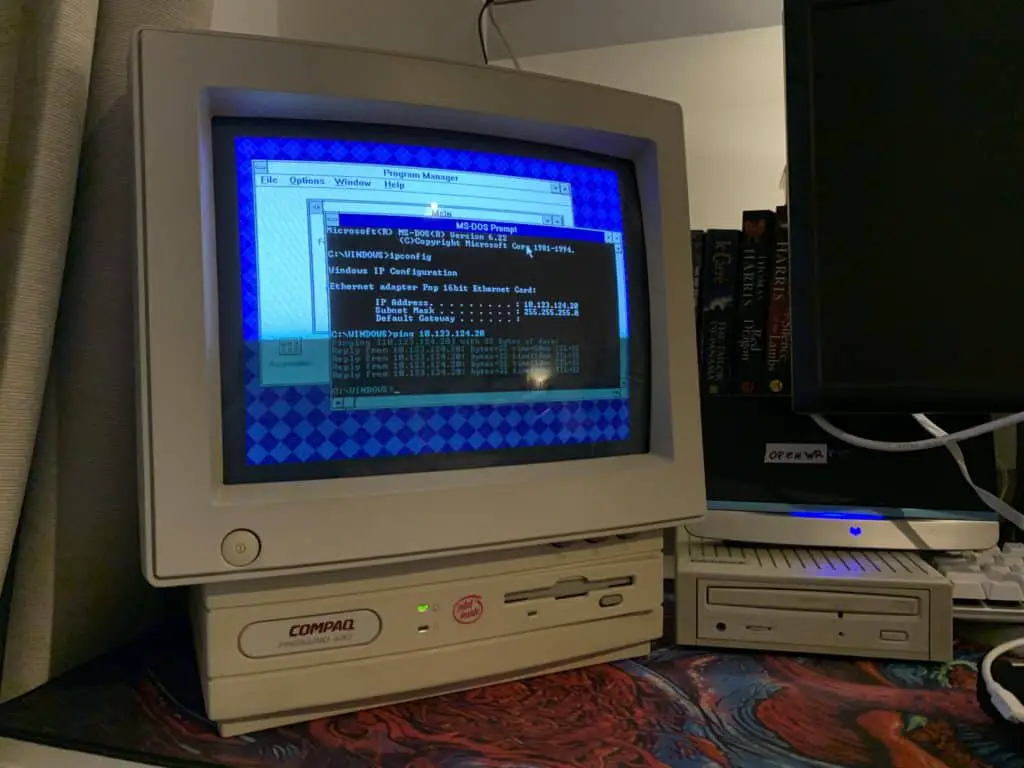
You can see the computer I’ll be using for this in all of it’s glory here.
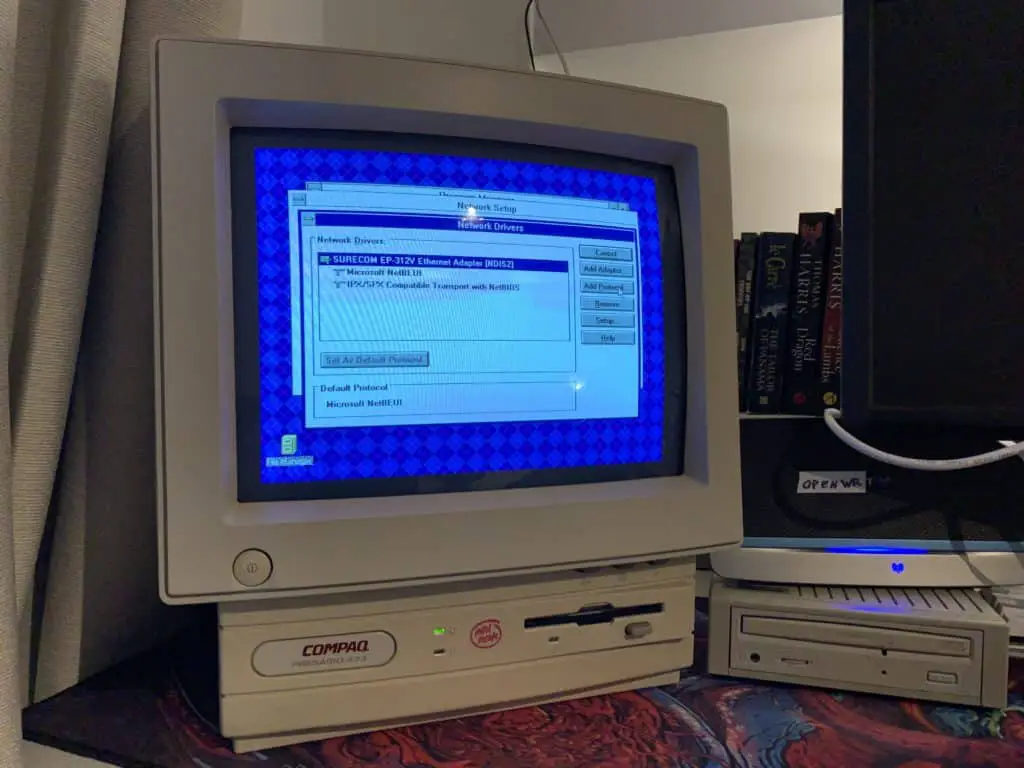
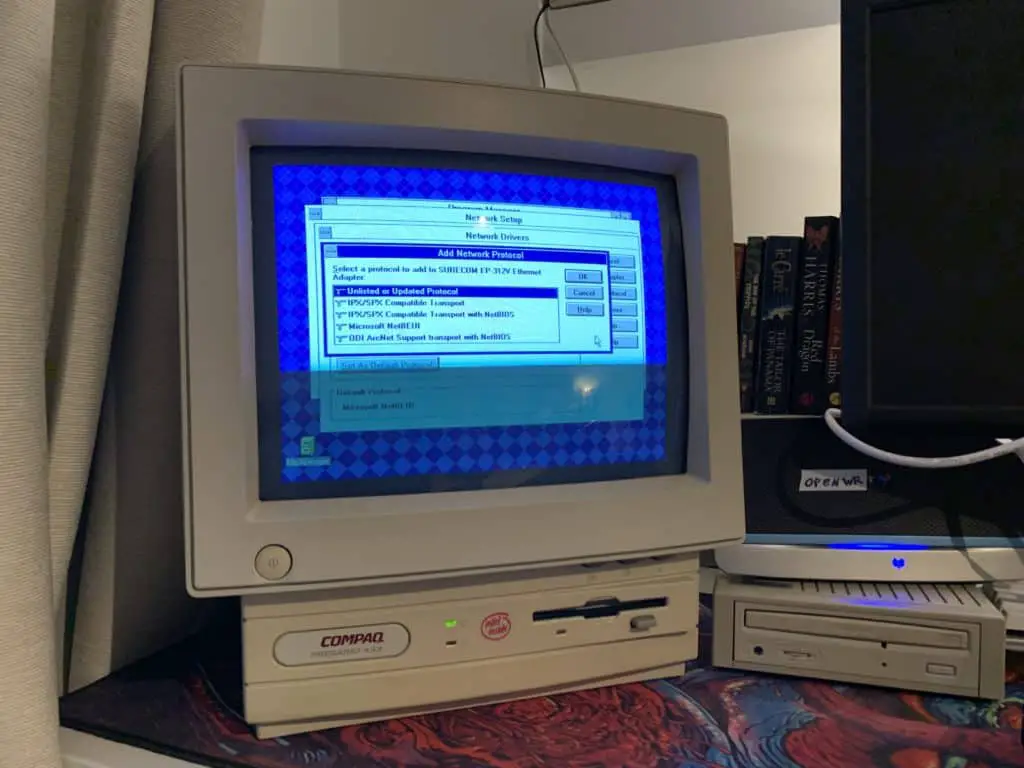
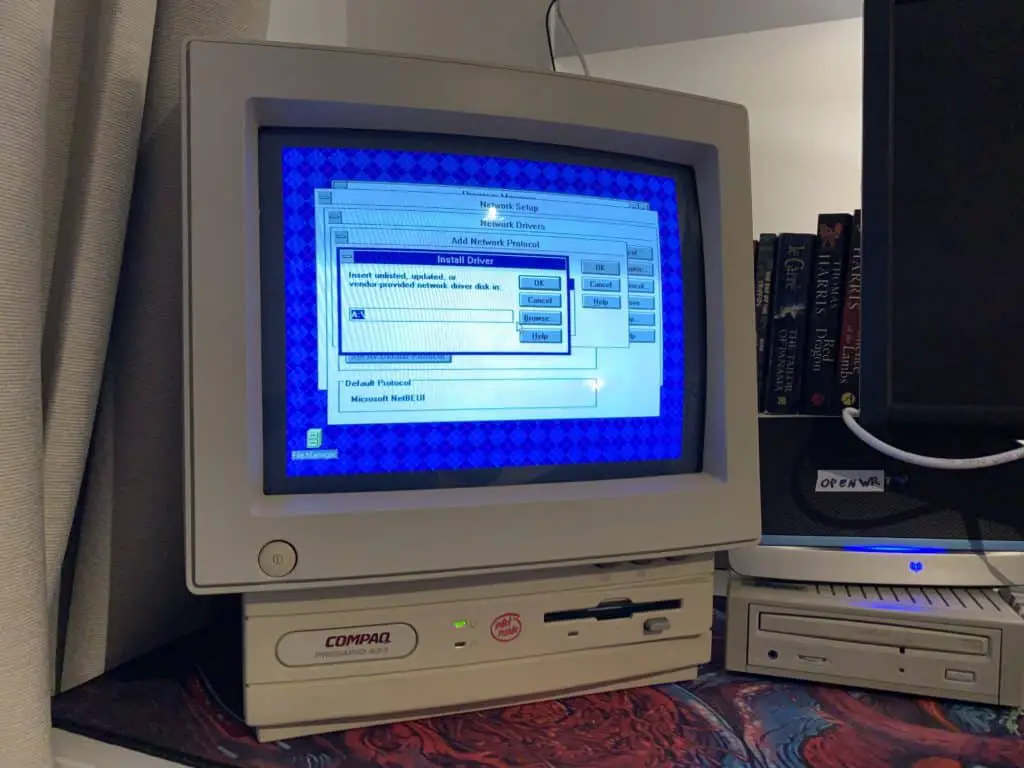
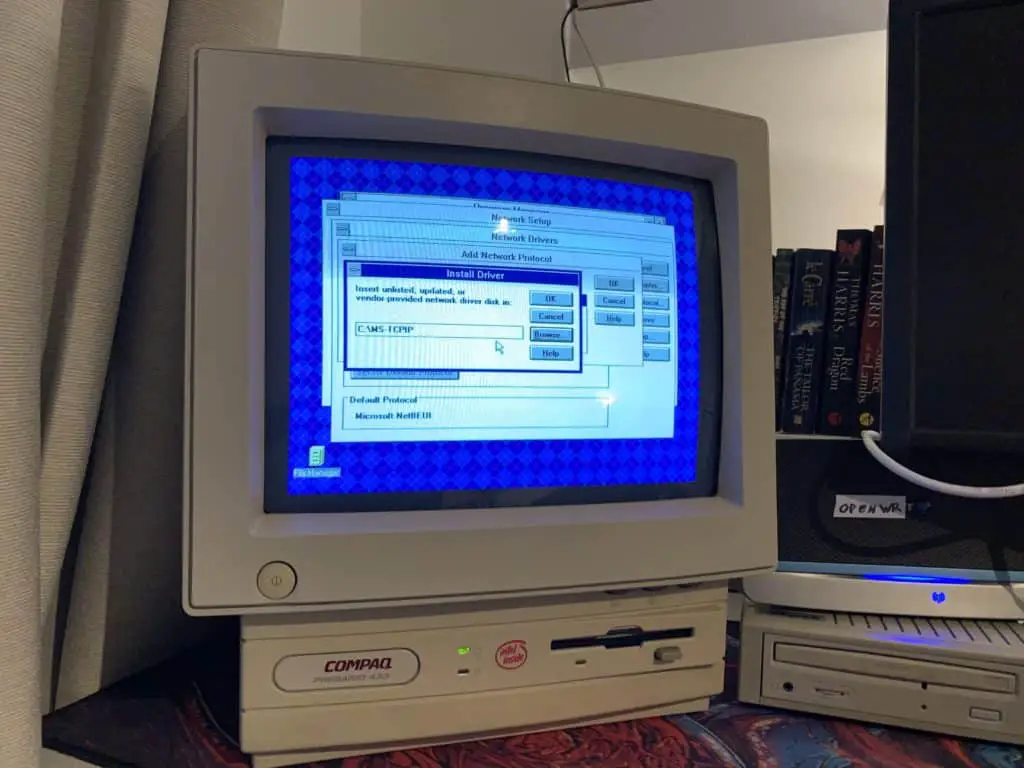
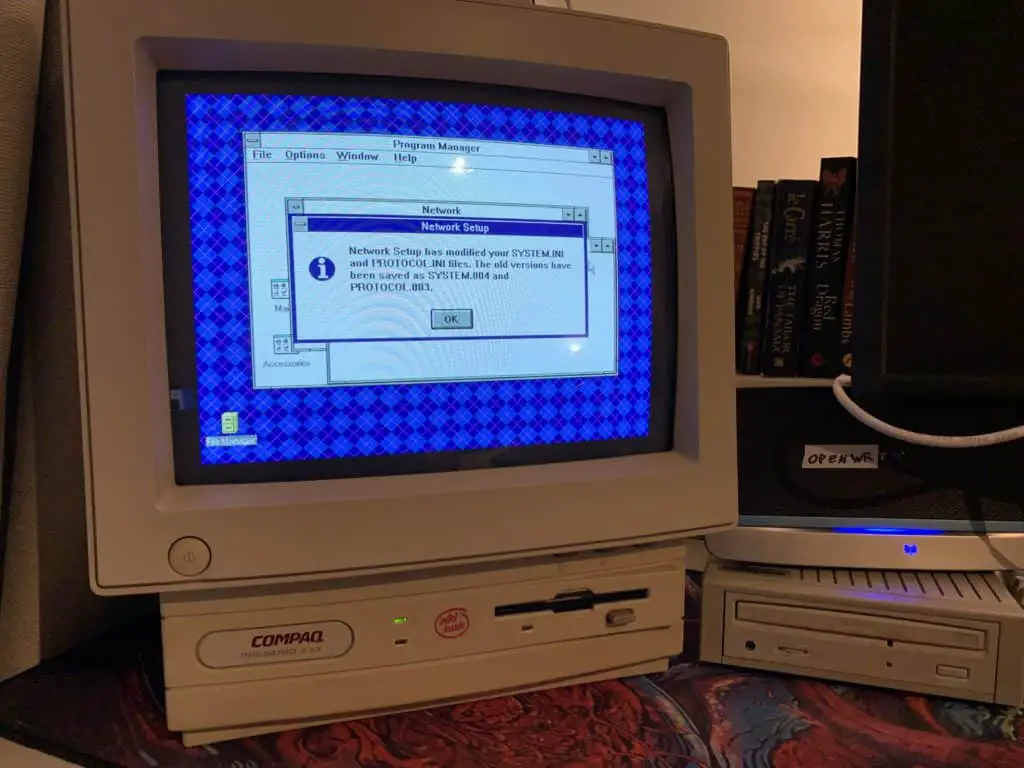
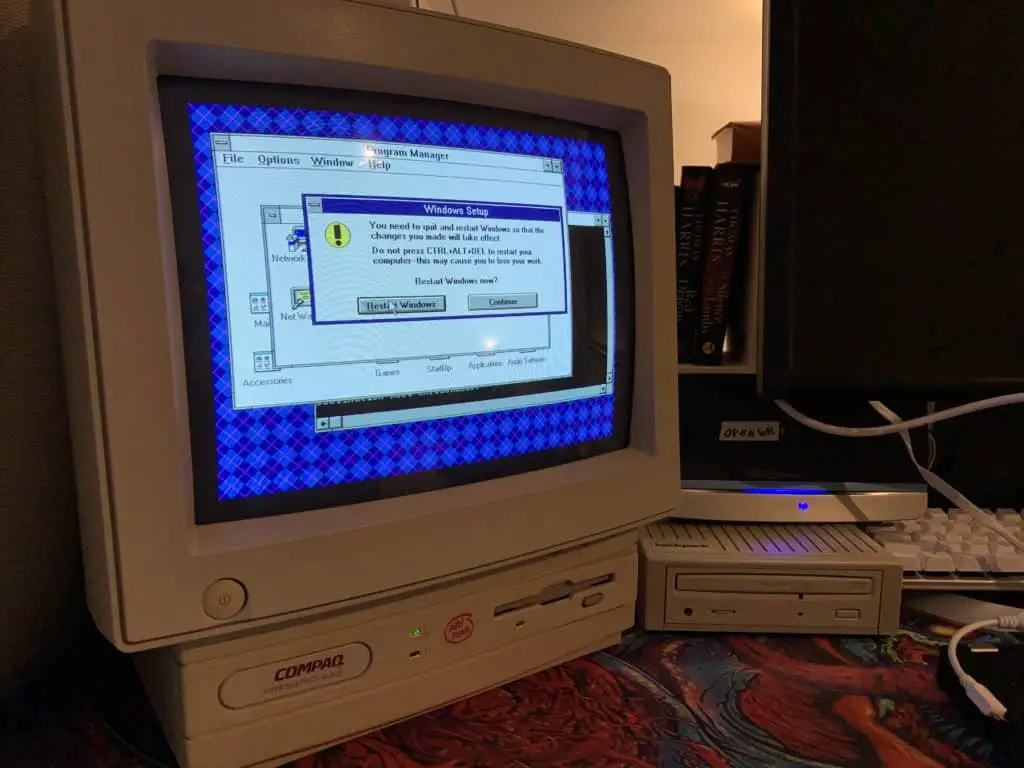
The steps I followed to get Windows 3.11 networked and talking to the Web Rendering Proxy running on the Pi are documented below.
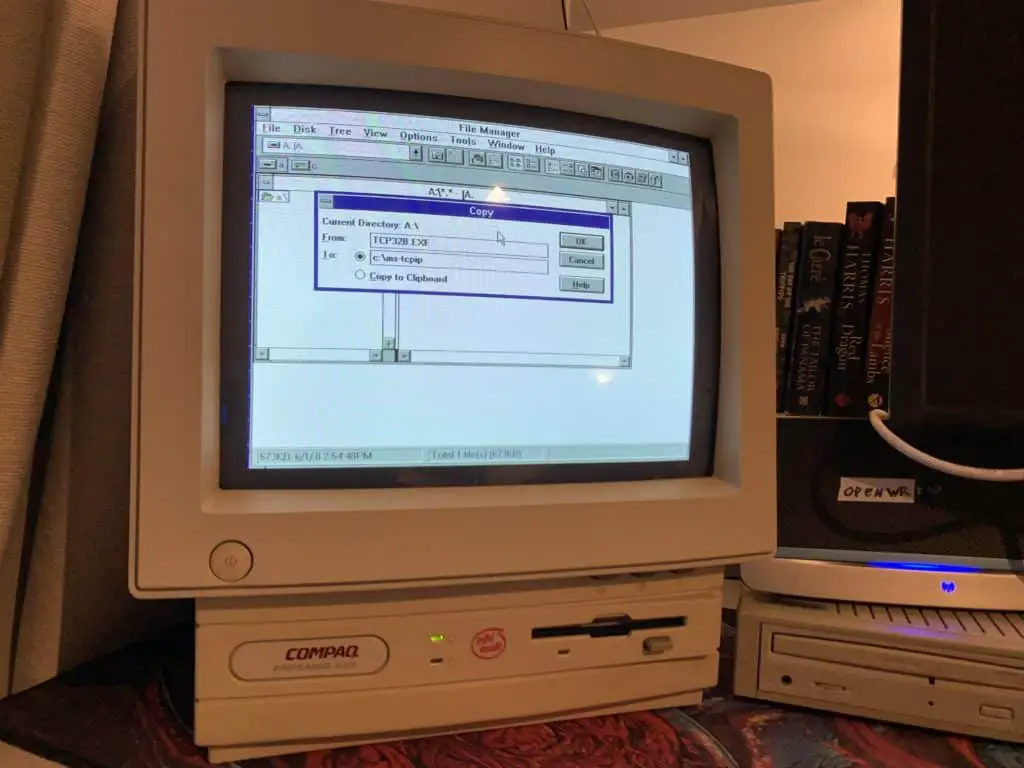
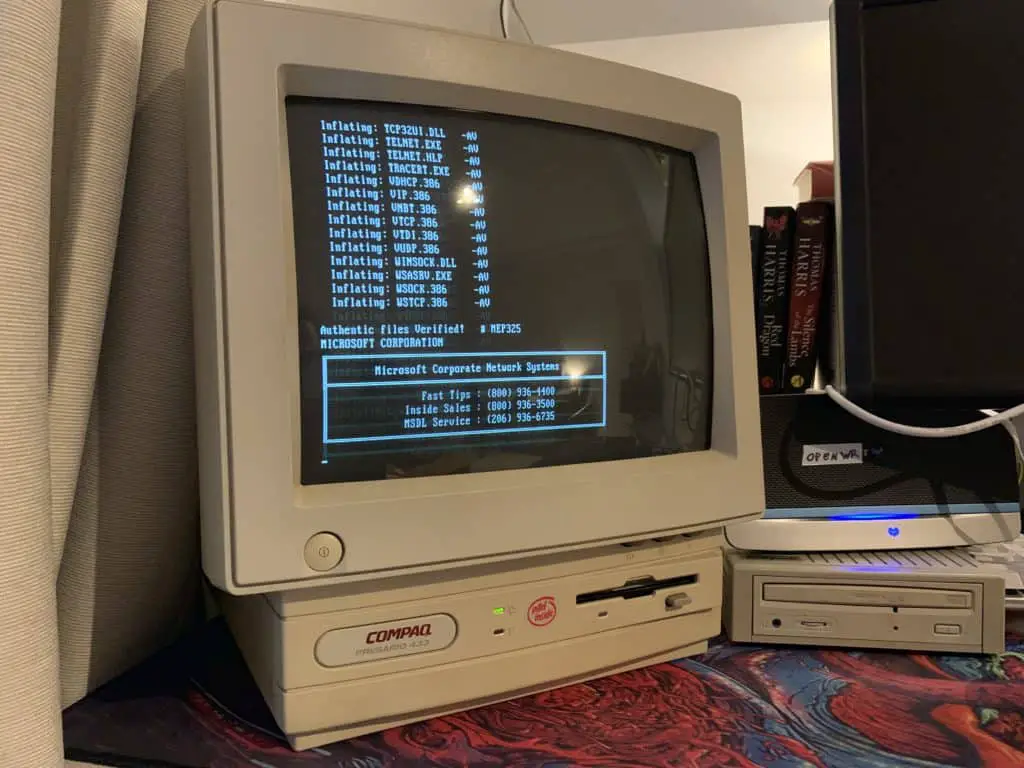
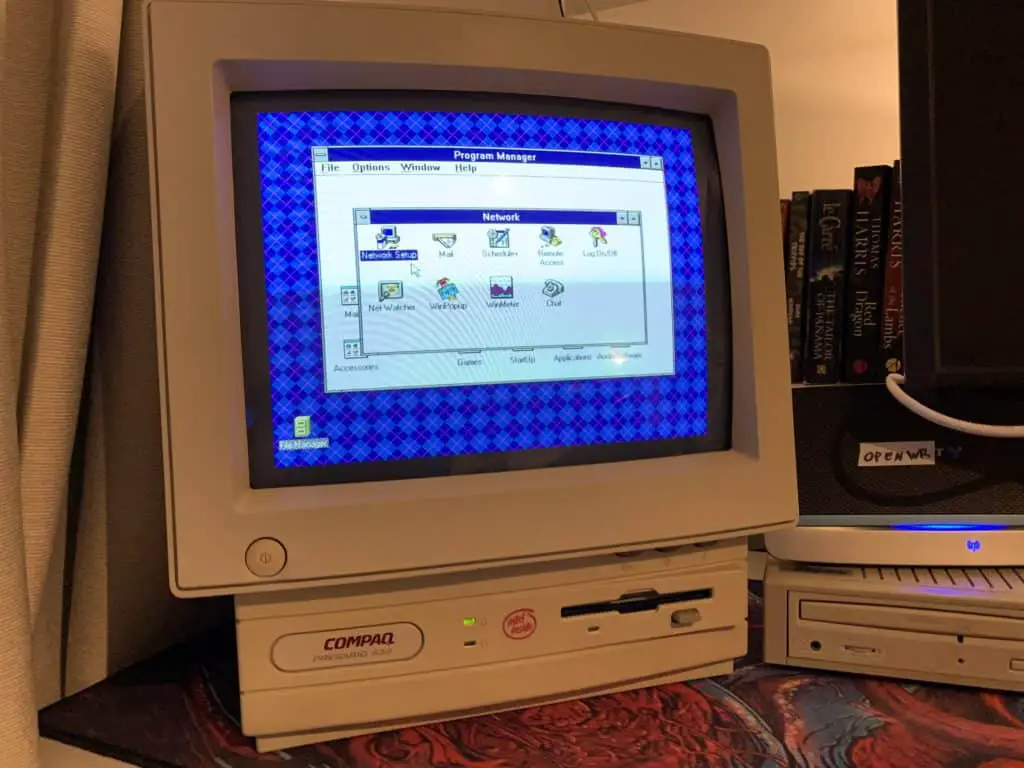
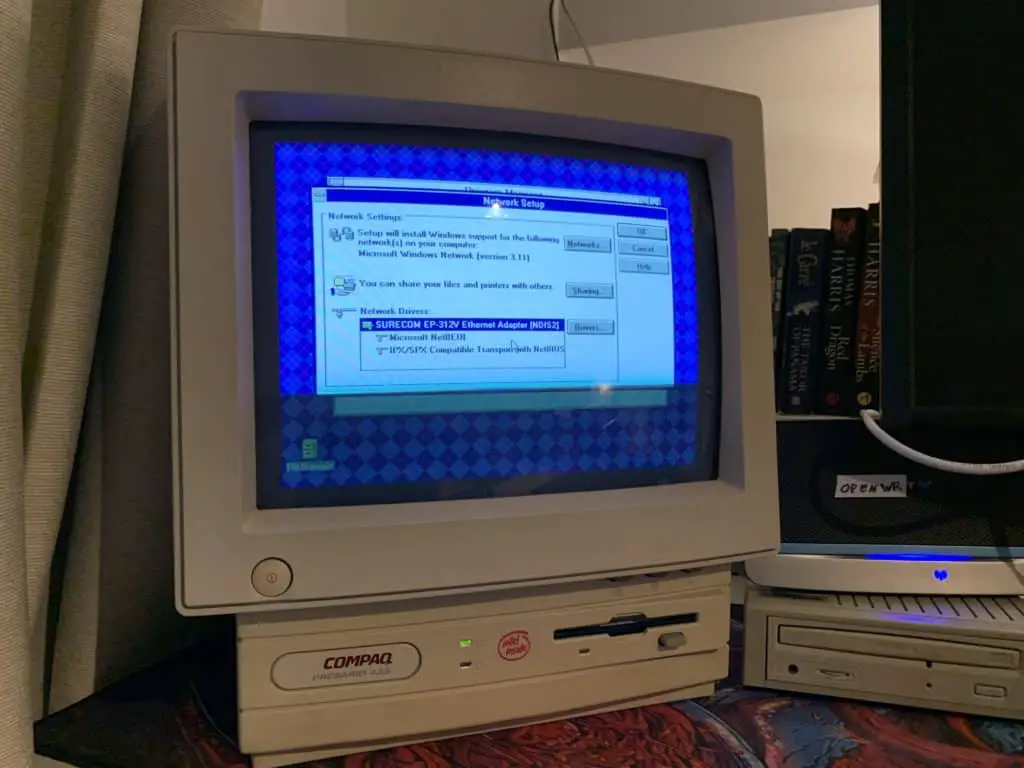
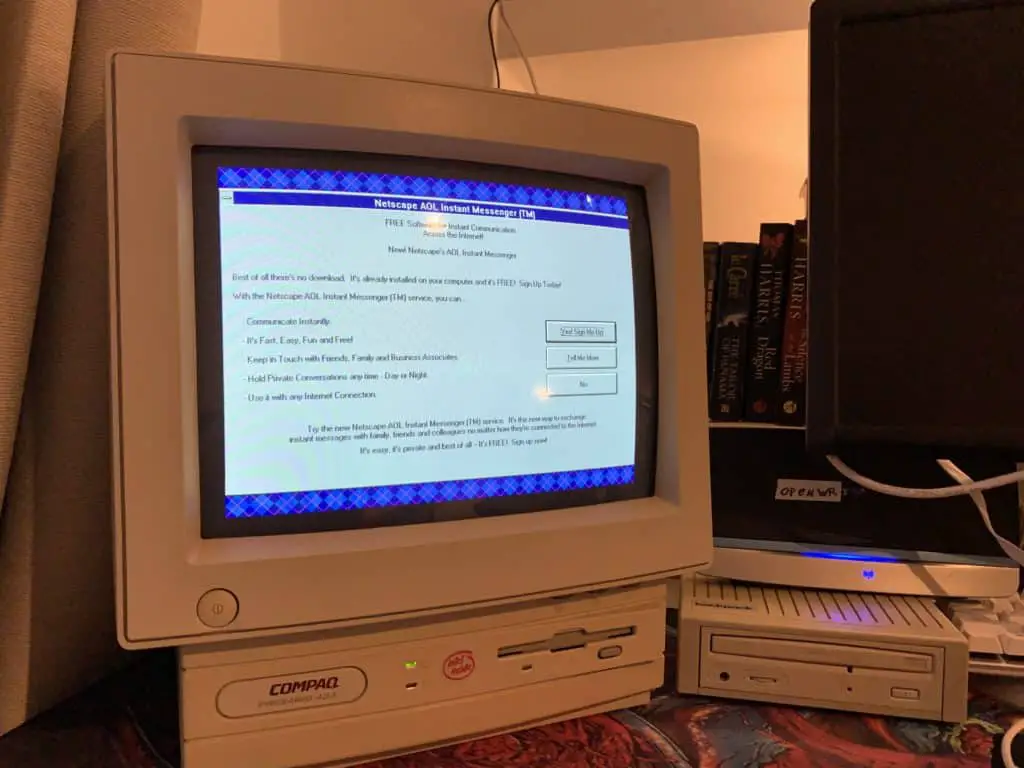
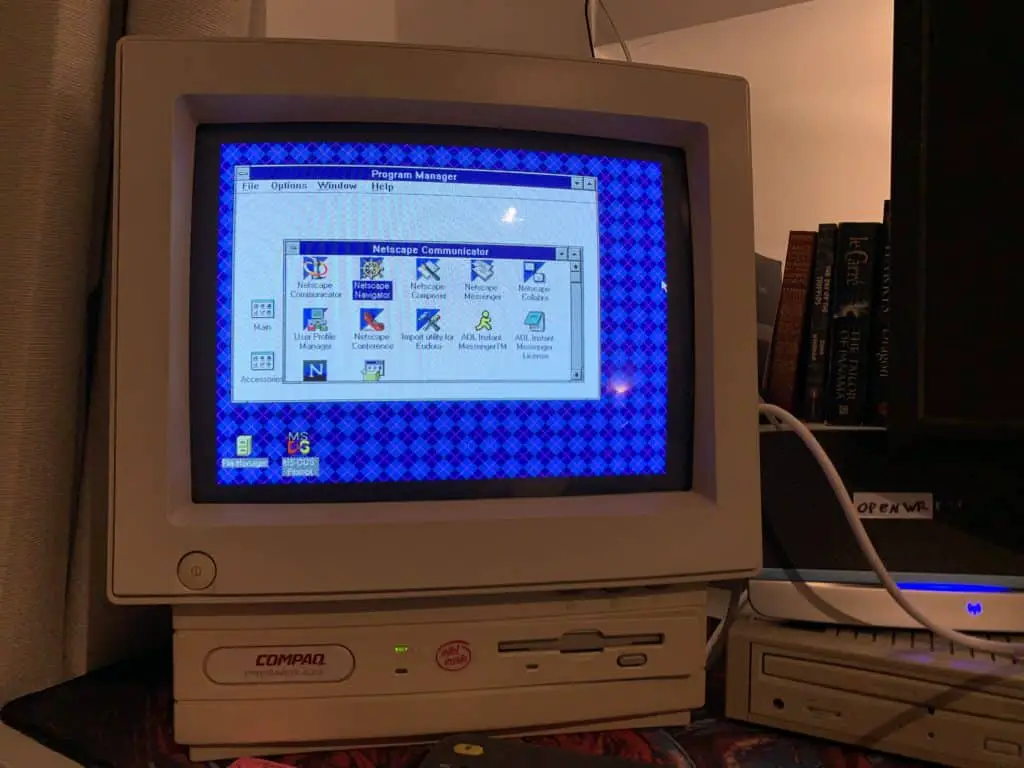
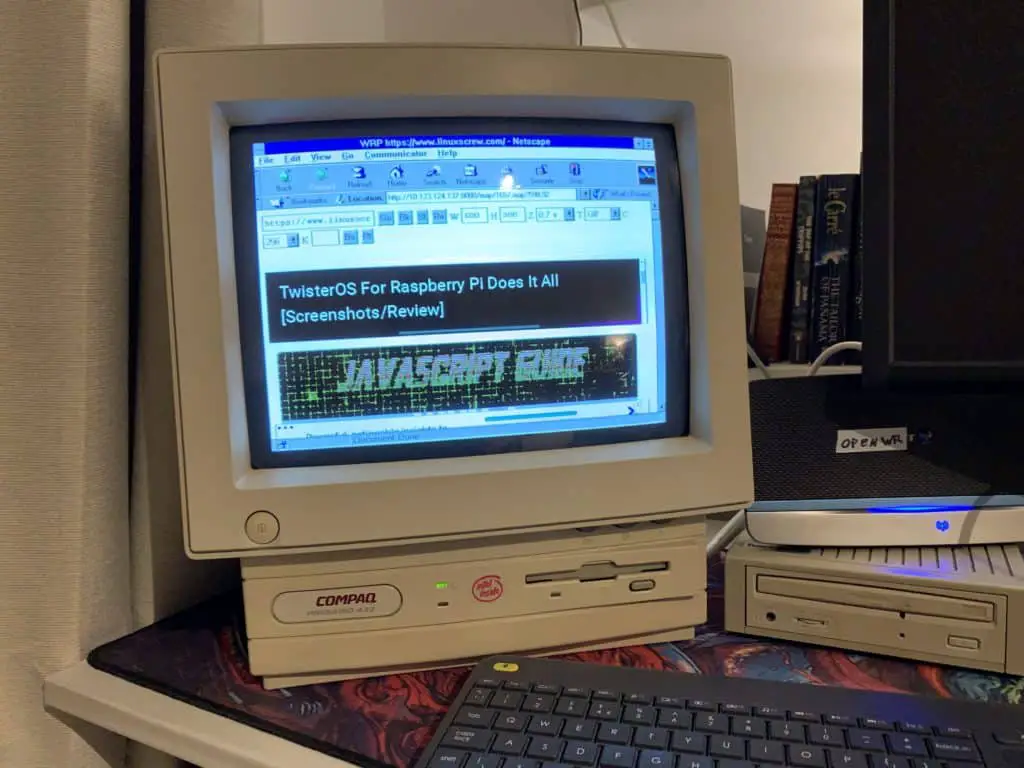
As you can see, linuxscrew.com isn’t really at it’s best at 640×480 with 256 colours.
It’s also slow. Very slow. This computer only has about 20MB of RAM and a 33Mhz CPU so I don’t really know what I expected.
Still had fun putting it all together though.

