Webmin is a system configuration tool that can be run on Linux. This step-by-step tutorial explains how to install Webmin on Ubuntu 20.04.
Webmin makes it easy for newbies (and veterans) to monitor and manage their Linux system and the services running on it in a graphical, browser-based interface that can be accessed locally or remotely.
It’s a great tool for people getting started to manage users, web server configurations, file servers, and more. Webmin includes a bunch of modules for common software like Apache and MySQL, and additional packages can be installed to allow it to be used to configure other services.
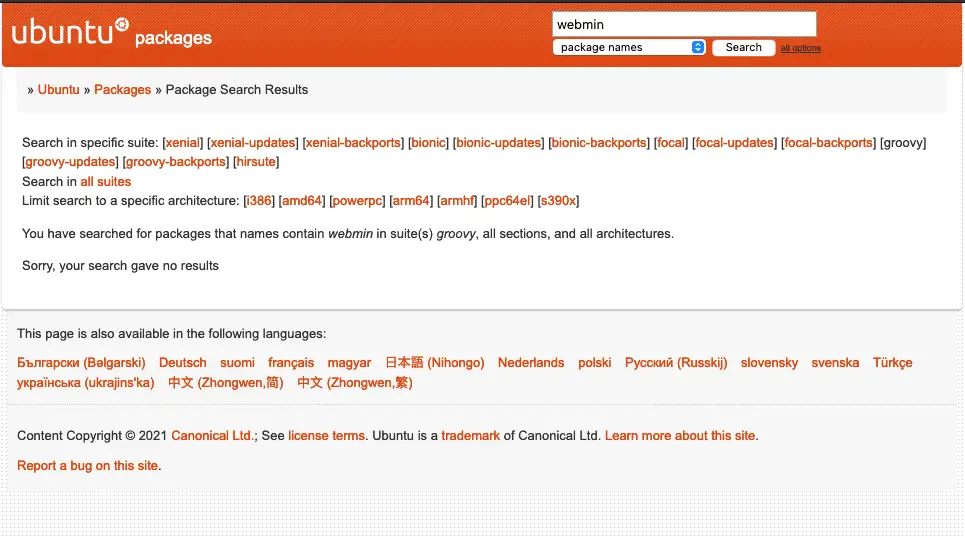
You might be tempted to try installing Webmin using apt straight away, however –
Webmin isn’t in the default Ubuntu repositories!
Adding the Webmin Repository to Ubuntu
To add the Webmin repository to Ubuntu – which will allow webmin to be installed and updated using the apt and apt-get commands, follow these steps;
Add the Webmin GPG Key
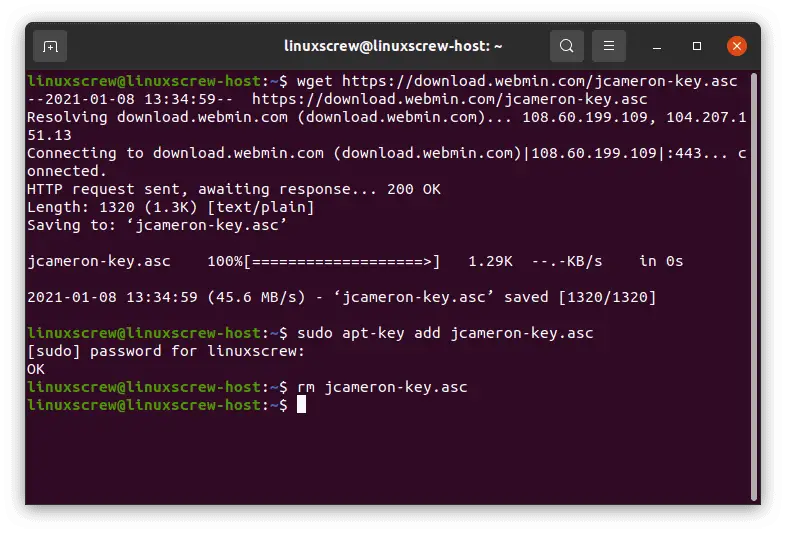
To allow the software to be installed from the Webmin repository, first add the developers GPG key to your system by running the following commands in your terminal:
wget https://download.webmin.com/jcameron-key.asc
sudo apt-key add jcameron-key.asc
rm jcameron-key.asc
Add the Webmin Repository to apt
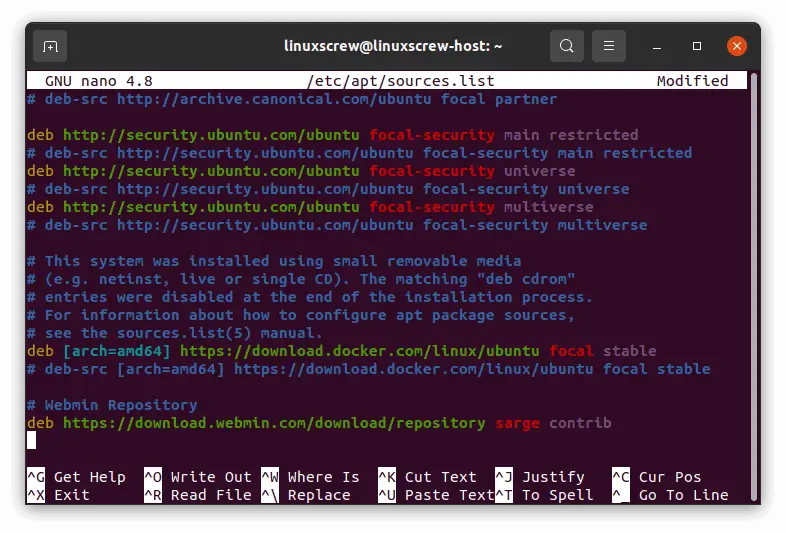
To add the repository to apt, edit the /etc/apt/sources.list file and add the repository to the list using the nano text editor:
sudo nano /etc/apt/sources.list
…and add the following lines to the end of the file:
# Webmin Repository
deb https://download.webmin.com/download/repository sarge contrib
Press CTRL+X to exit nano, press Y to save changes.
Installing Webmin
With the repository added, we can now install Webmin like any other package using the apt command.
The below commands will double check we have the apt-transport-https package installed (a requirement that should already be met, but it doesn’t hurt to check), update the package lists, and install webmin:
sudo apt install apt-transport-https
sudo apt update
sudo apt install webmin
Press Y to accept any changes, and Webmin will soon be installed!
Accessing Webmin Locally
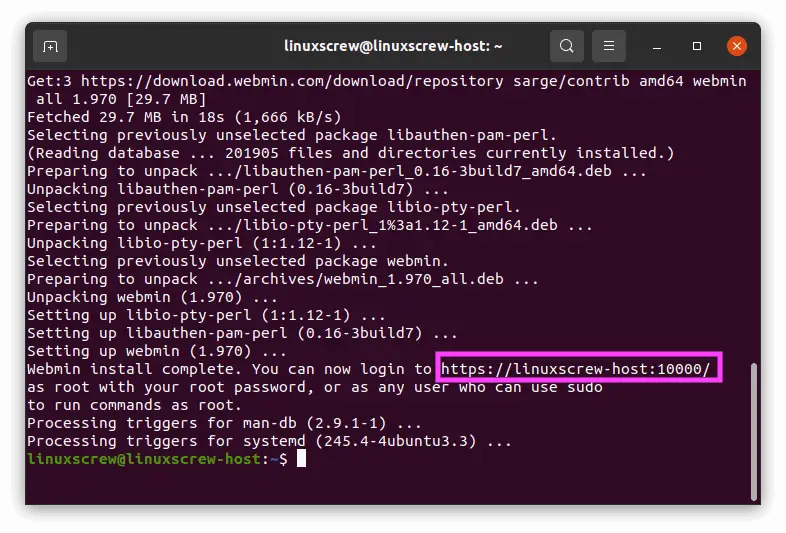
Examine the pink highlighted section in the screenshot above, which is the Webmin installation process’s output.
It’s the address you can access Webmin on (yours will be different as your computer probably has a different hostname on the network).
By default, Webmin runs on port 10000, and this can be changed in the Webmin configuration if you’d prefer a different port.
To access Webmin, all we need to do is visit that address!
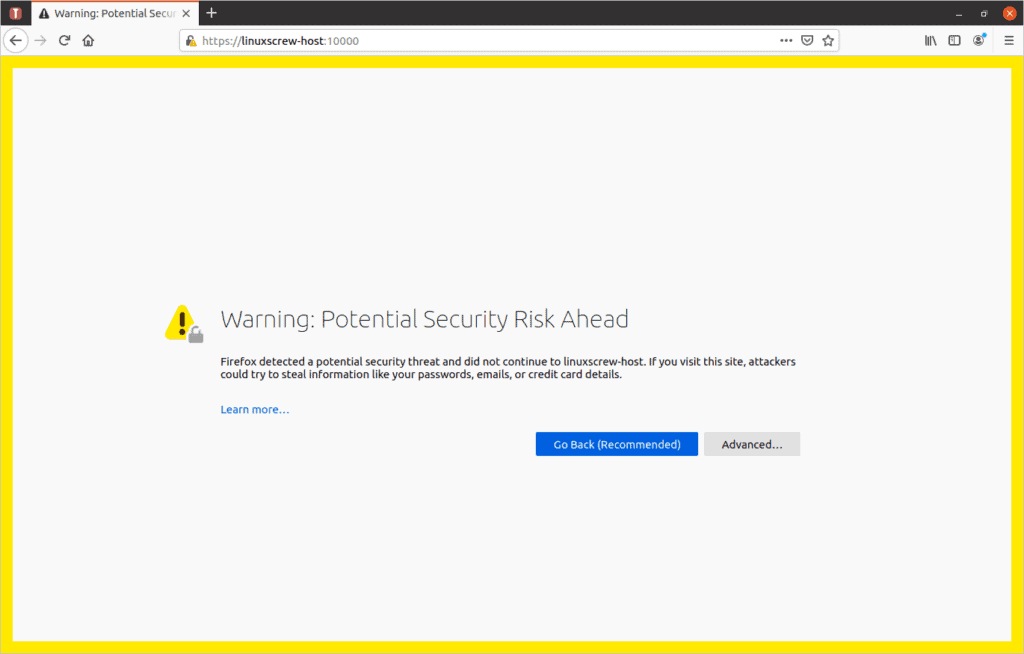
This doesn’t look good – but it’s OK.
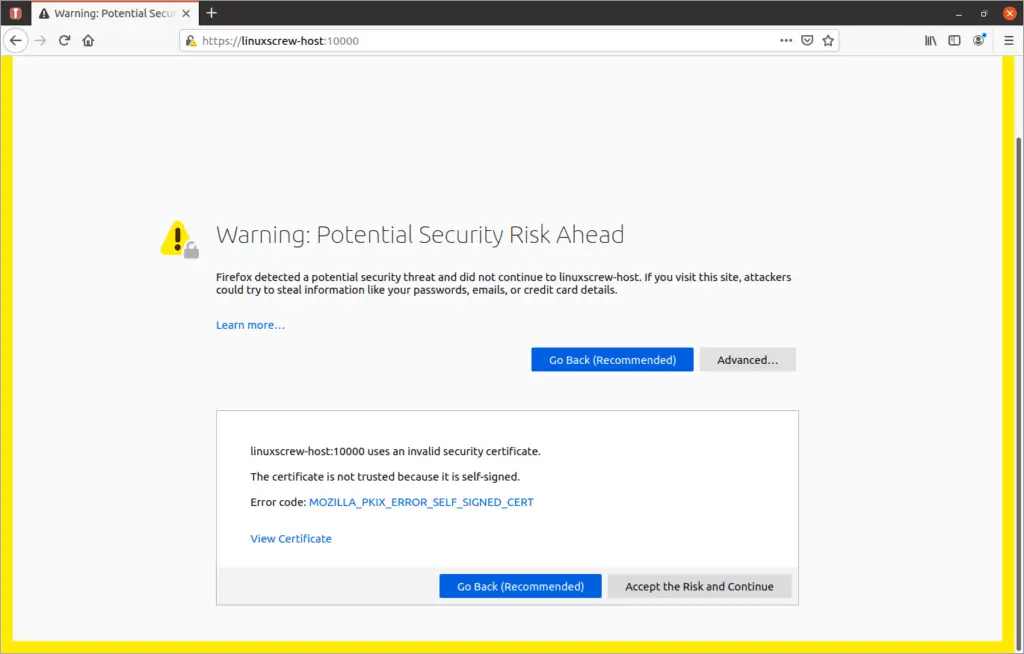
Firefox is warning you that it doesn’t recognize the HTTPS certificate used by Webmin. This certificate was generated for use on your local computer and isn’t verified by any authority.
Just click Advanced and then Accept the Risk and Continue to ignore the warning and continue to Webmin.
WARNING: WE’RE IGNORING THIS SECURITY WARNING BECAUSE WE KNOW EXACTLY WHY IT’S HAPPENED – DON’T IGNORE THESE WARNINGS IF YOU GET THEM WHILE BROWSING THE INTERNET OR YOU AREN’T SURE OF THE CAUSE!
Webmin can also be accessed at the addresses
https://localhost:10000
or
https://127.0.0.1:10000
…from your local computer if you are unable to access it via the hostname.
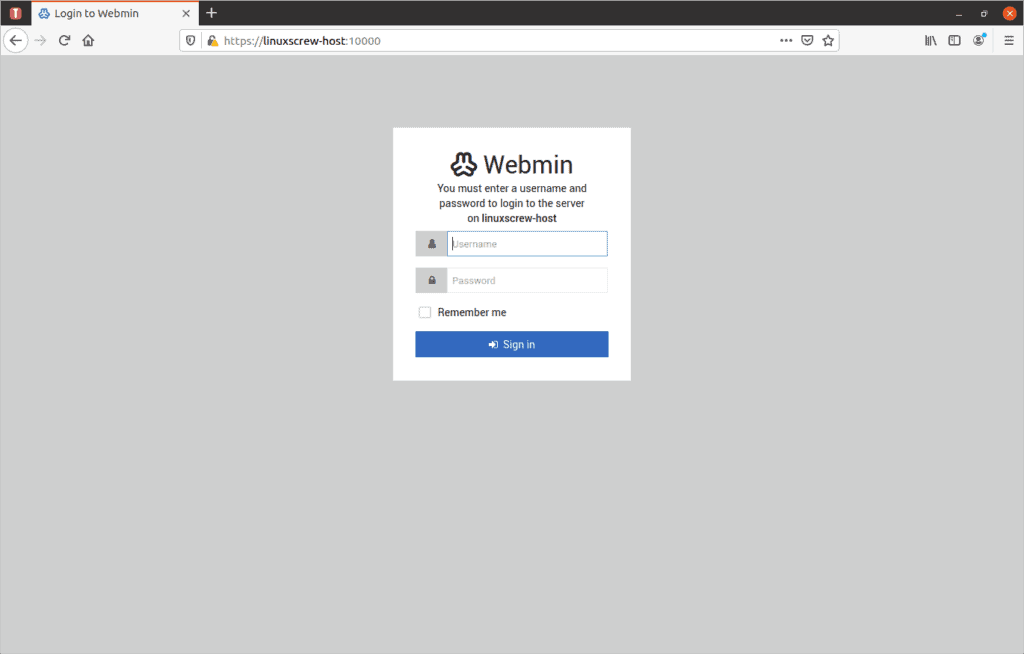
Once you’ve bypassed the certificate warning, you can log into Webmin.
Accessing Webmin Remotely
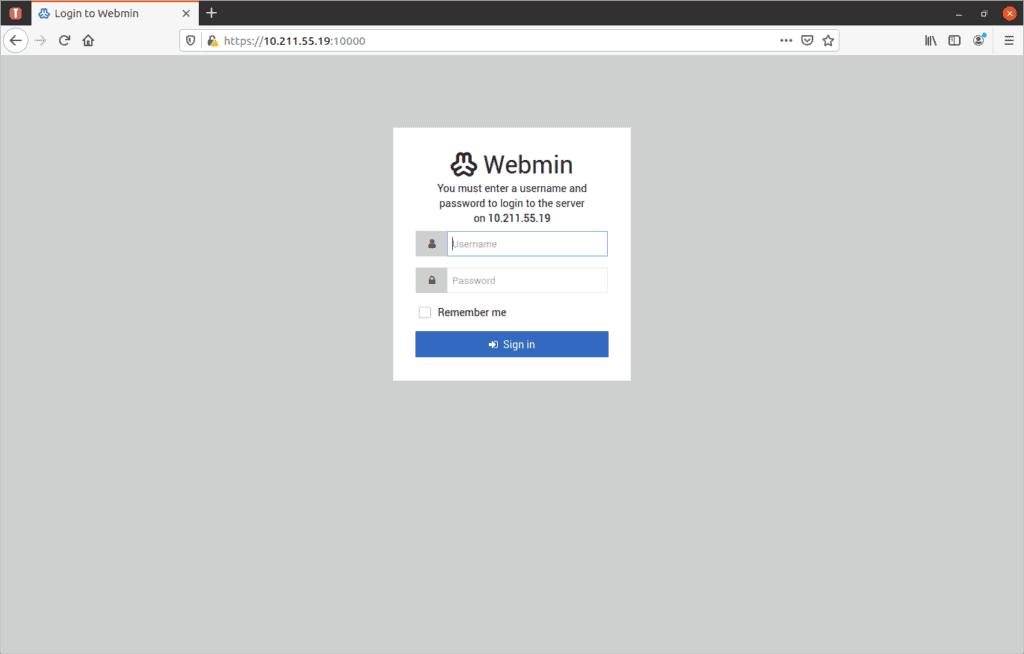
If you can’t access Webmin from other computers on your local network using the URL containing the computer’s hostname, you can try connecting using its IP address:
Using Webmin
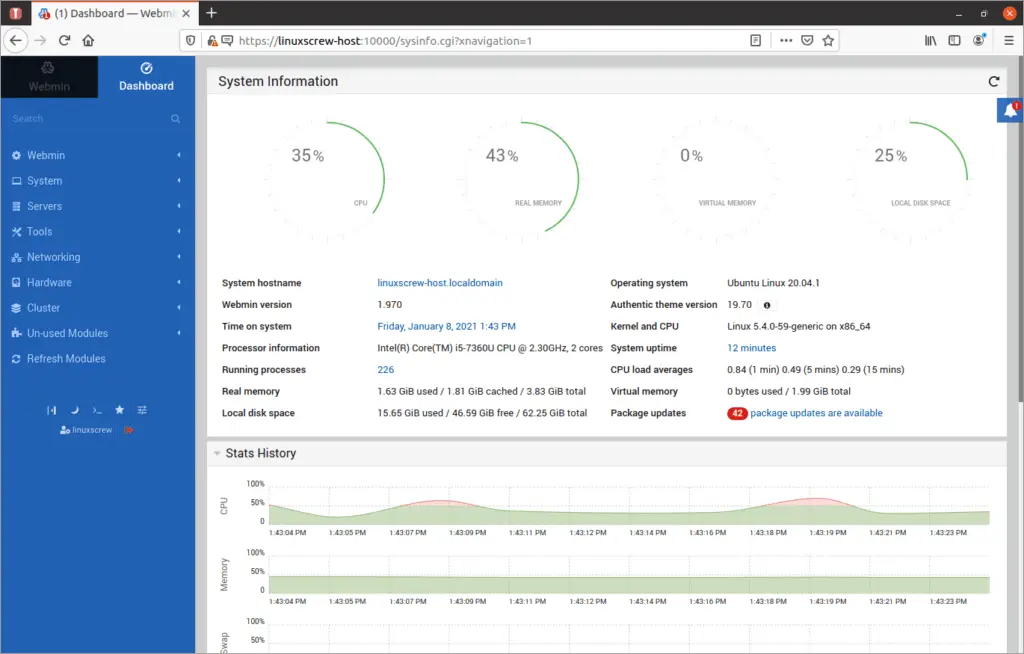
Once logged in, webmin will show all sorts of interesting statistics about your running computer.
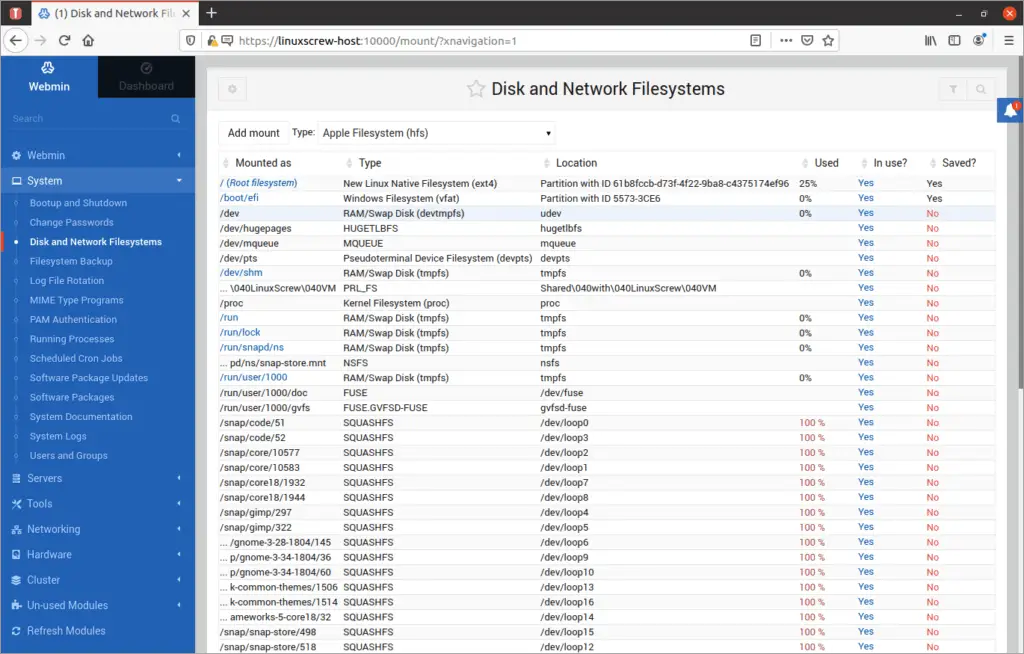
Expand the menus on the left of the screen to access configuration and metrics for the services running on your system – from web servers to file and database servers.
There are hundreds (thousands?) of Webmin modules, so I won’t cover them here – check out the Webmin documentation for more information on how to leverage them:


